Activate Customisation settings
Available Customisation options include configuring display elements such as colour schemes and setting language preferences for improved accessibility and usability.
Apply Customisation strategies
- Click Administration on the left side of the main page.
- Go to the Add-ons tab. Select the Merchant portal and click it. The system redirects you to the respective page.
- Then, navigate to the Configuration page by clicking it in the left sidebar menu.
- Switch to the Customisation tab.
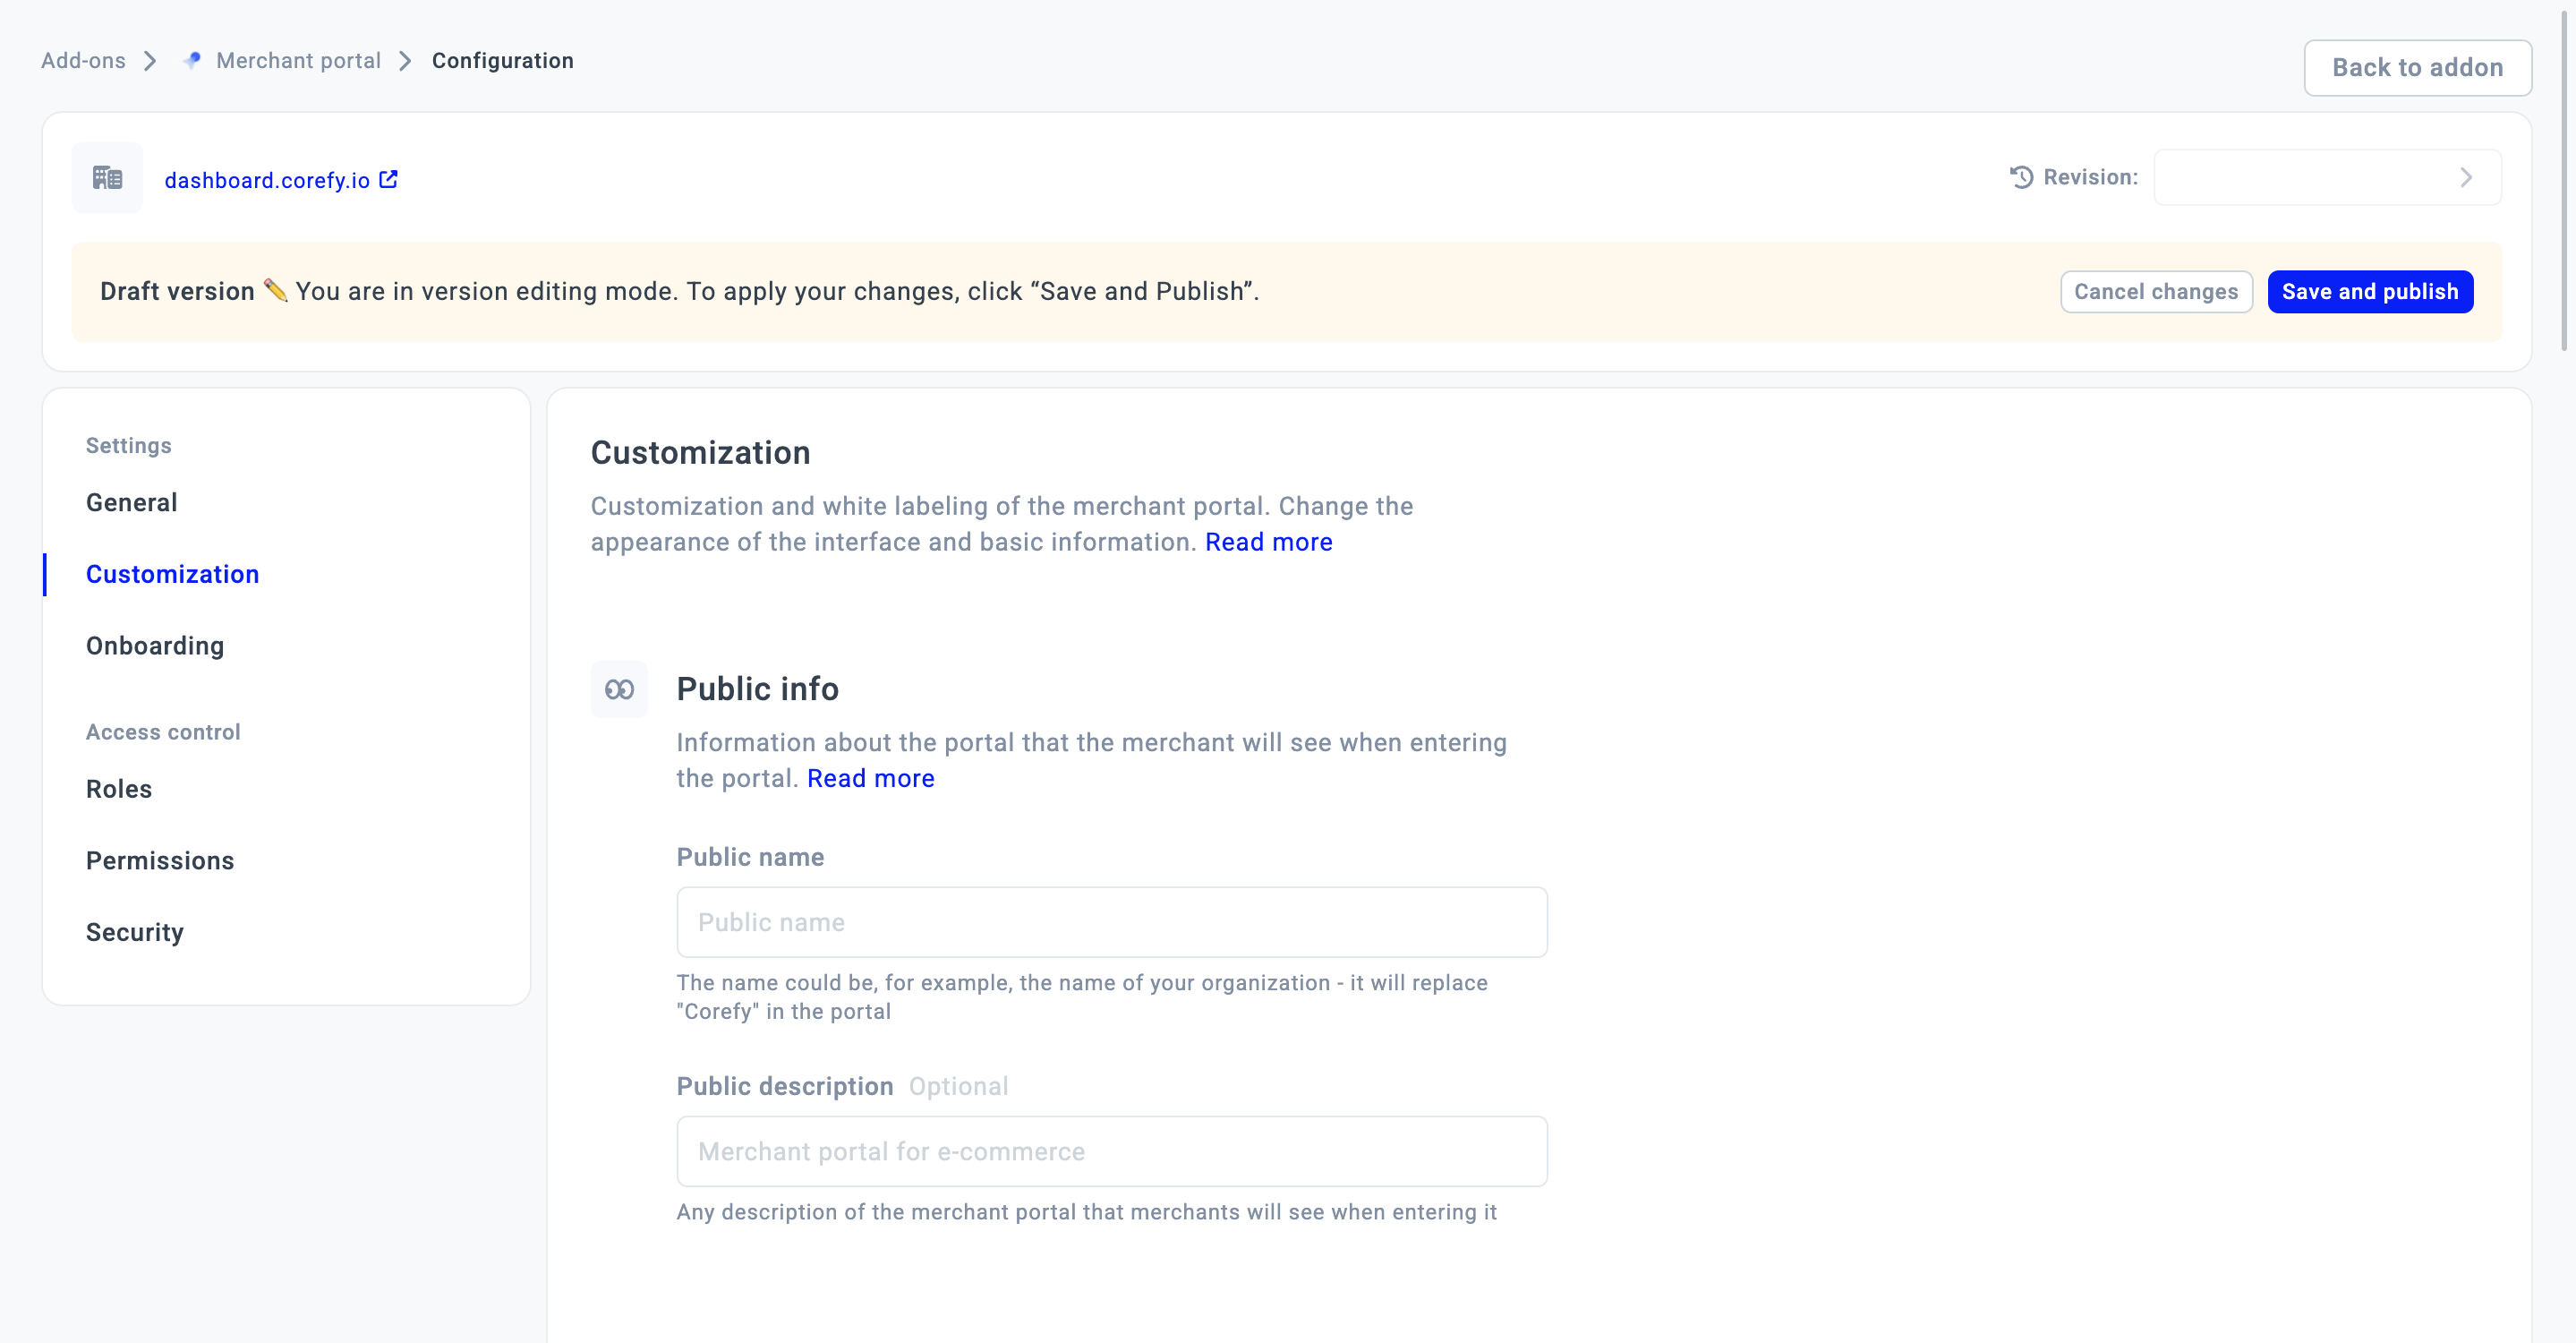
Public info
- It includes the primary information about the Portal that should be available to all the Merchants who join it.
- To add a Public name, enter the relevant data into the respective text field. Your Public name replaces Corefy in the Portal.
- To specify the additional information that should be captured in the first place, ensure to add a Public description.
Styling
The Styling section provides the core settings for Customisation purposes. It includes setting logos, icons and switching between colours.
| Styling option → applied | Description |
| Favicon |
The Favicon is an image that represents your brand and appears in a browser tab.
|
| Icon |
The Icon is an image that increases brand recognition and accompanies users along their user journey with you.
|
| Logo |
The Logo is a visual symbol that represents your business. It is one of the key elements of your brand identity.
|
| Brand colour |
It stands as the colour for the main interactive elements. This is a base colour for a palette of branded shades that fit into the Dashboard.
|
| Button text colour |
It is the colour of all textual elements. Thus, it should be well aligned with the Brand colour for readability purposes.
|
| Neutral colour |
It is the colour of all inputs and secondary elements.
|
| Black colour |
It is a colour of a number of Corefy Dashboard labels. Therefore, you can switch the Corefy Black colour to any other colour that better suits your needs and brand style.
|
| Border radius |
The option allows you to moderate the form of the interface elements:
|
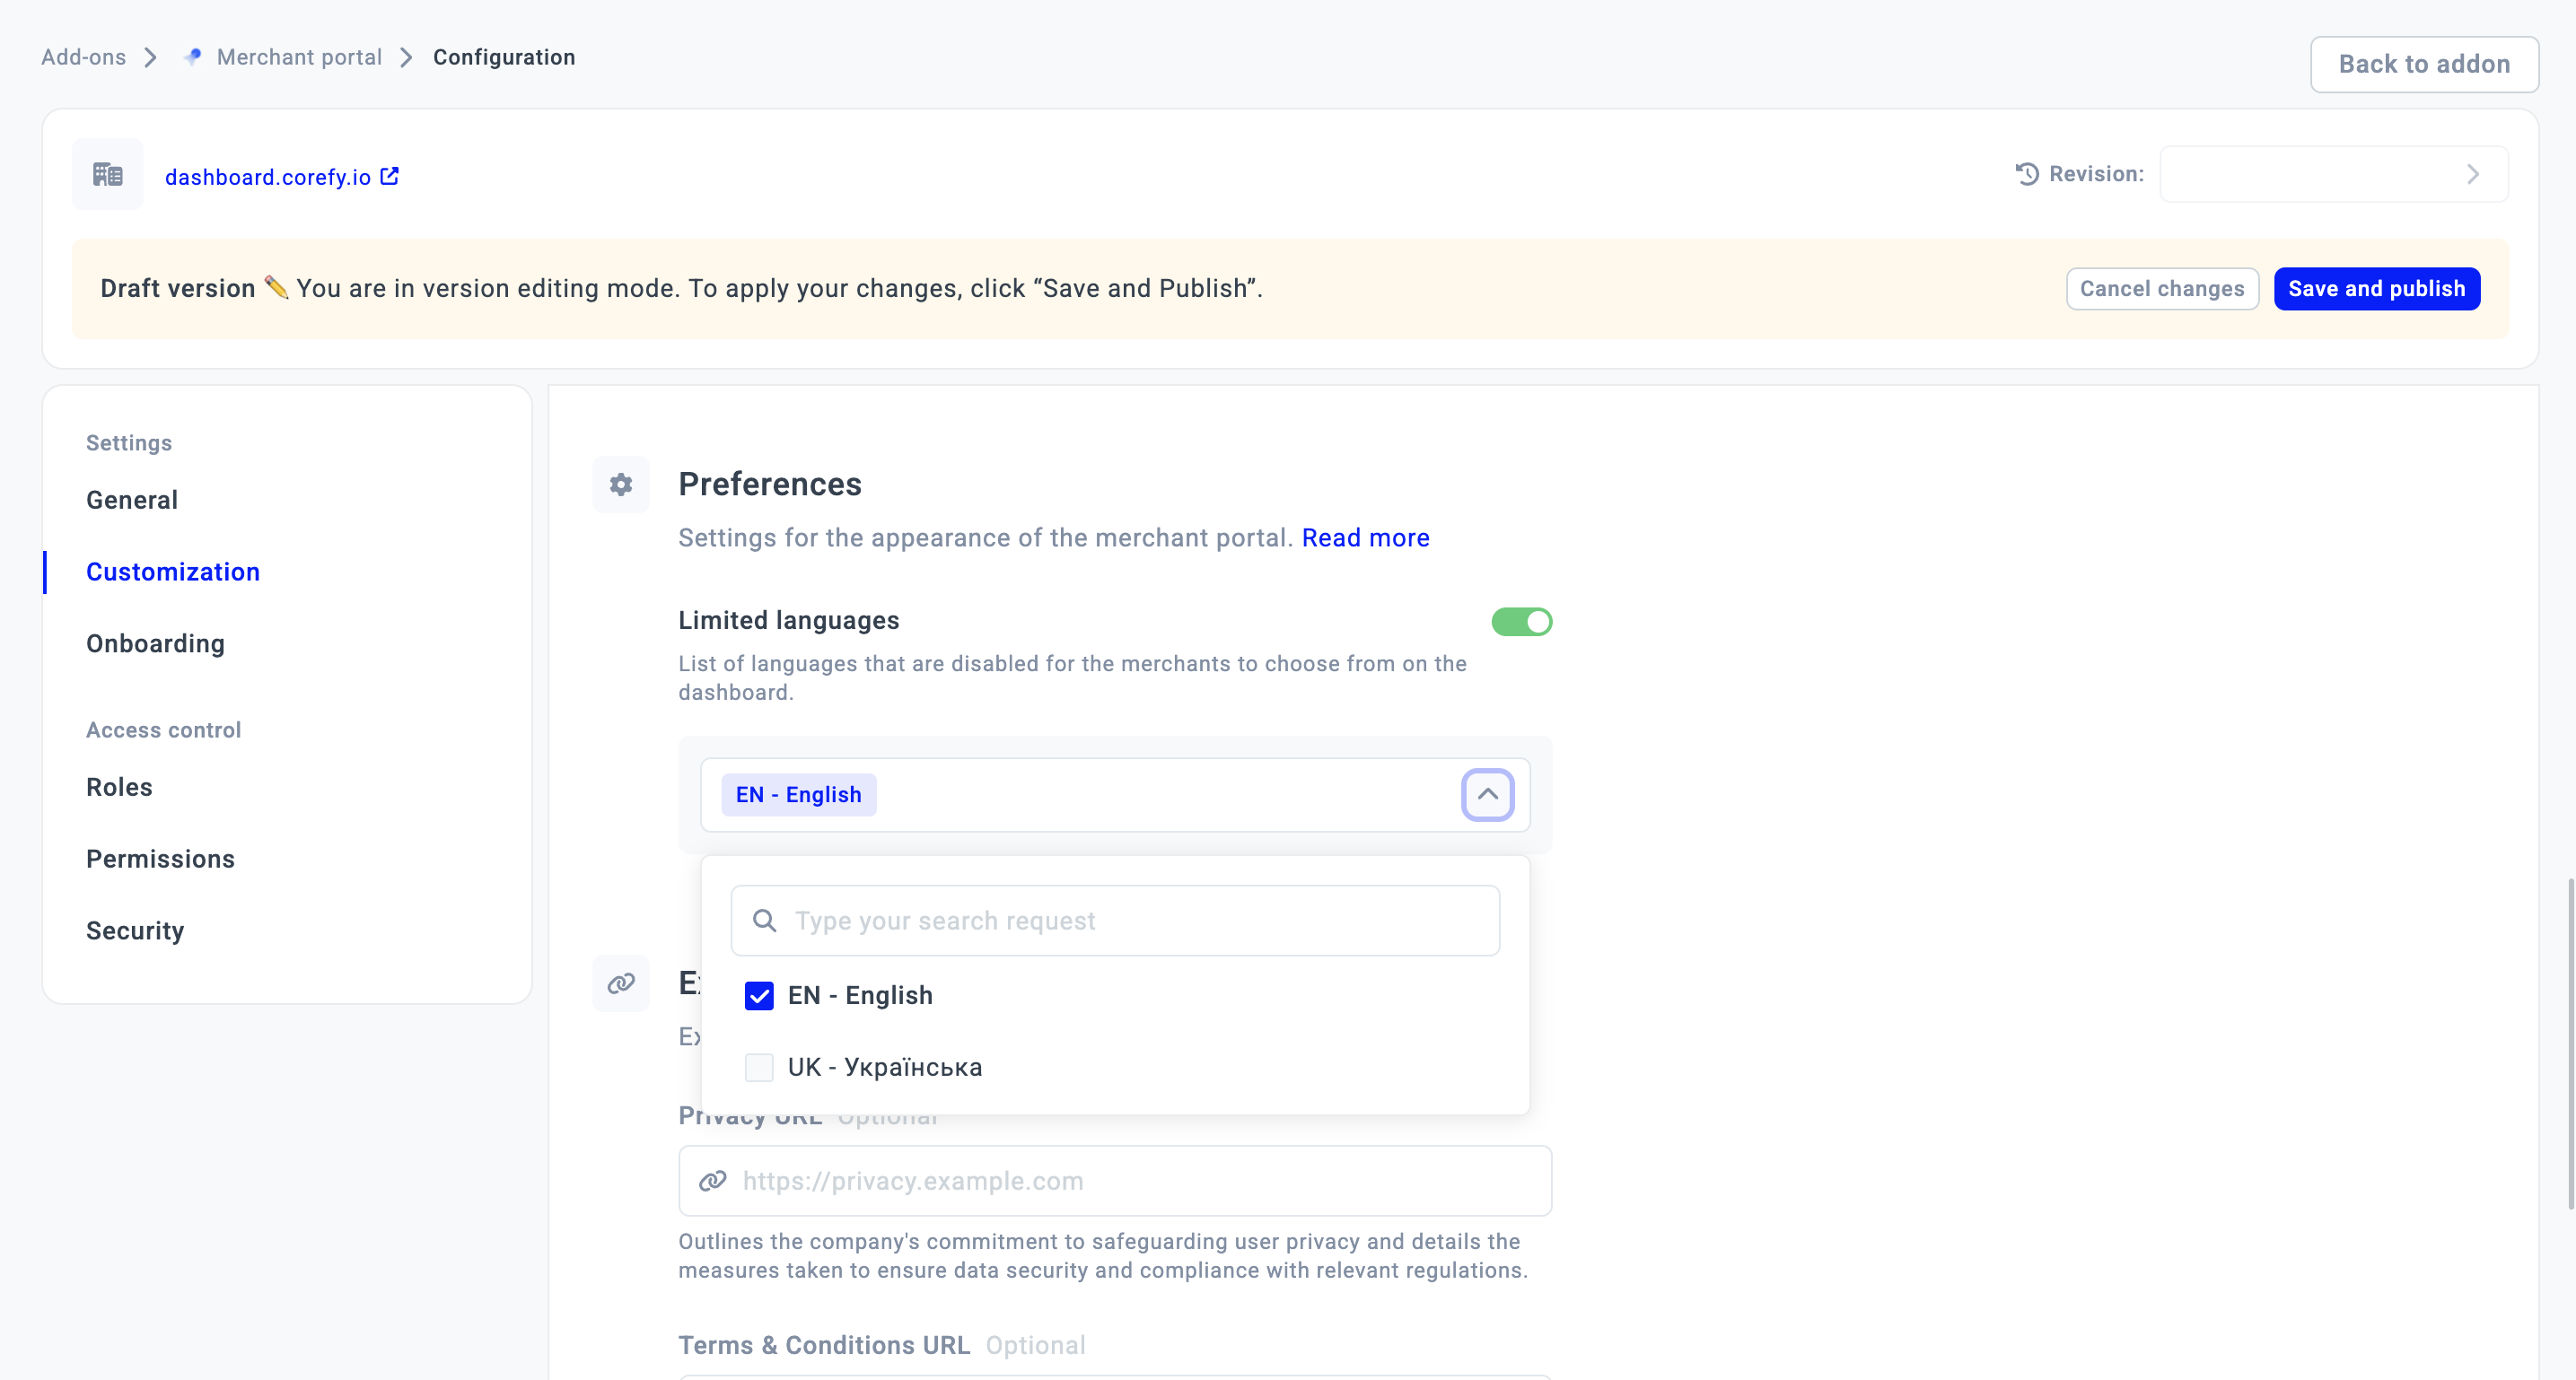
Preferences
The Preferences section allows you to set language preferences based on your needs, geography, business coverage, and the current objectives. In other words, you can set the limitations for the usage of specific languages.
- To limit specific languages, enable the Limited languages toggle.
- Then, select the languages you want to limit for your Merchants from the respective combo box.
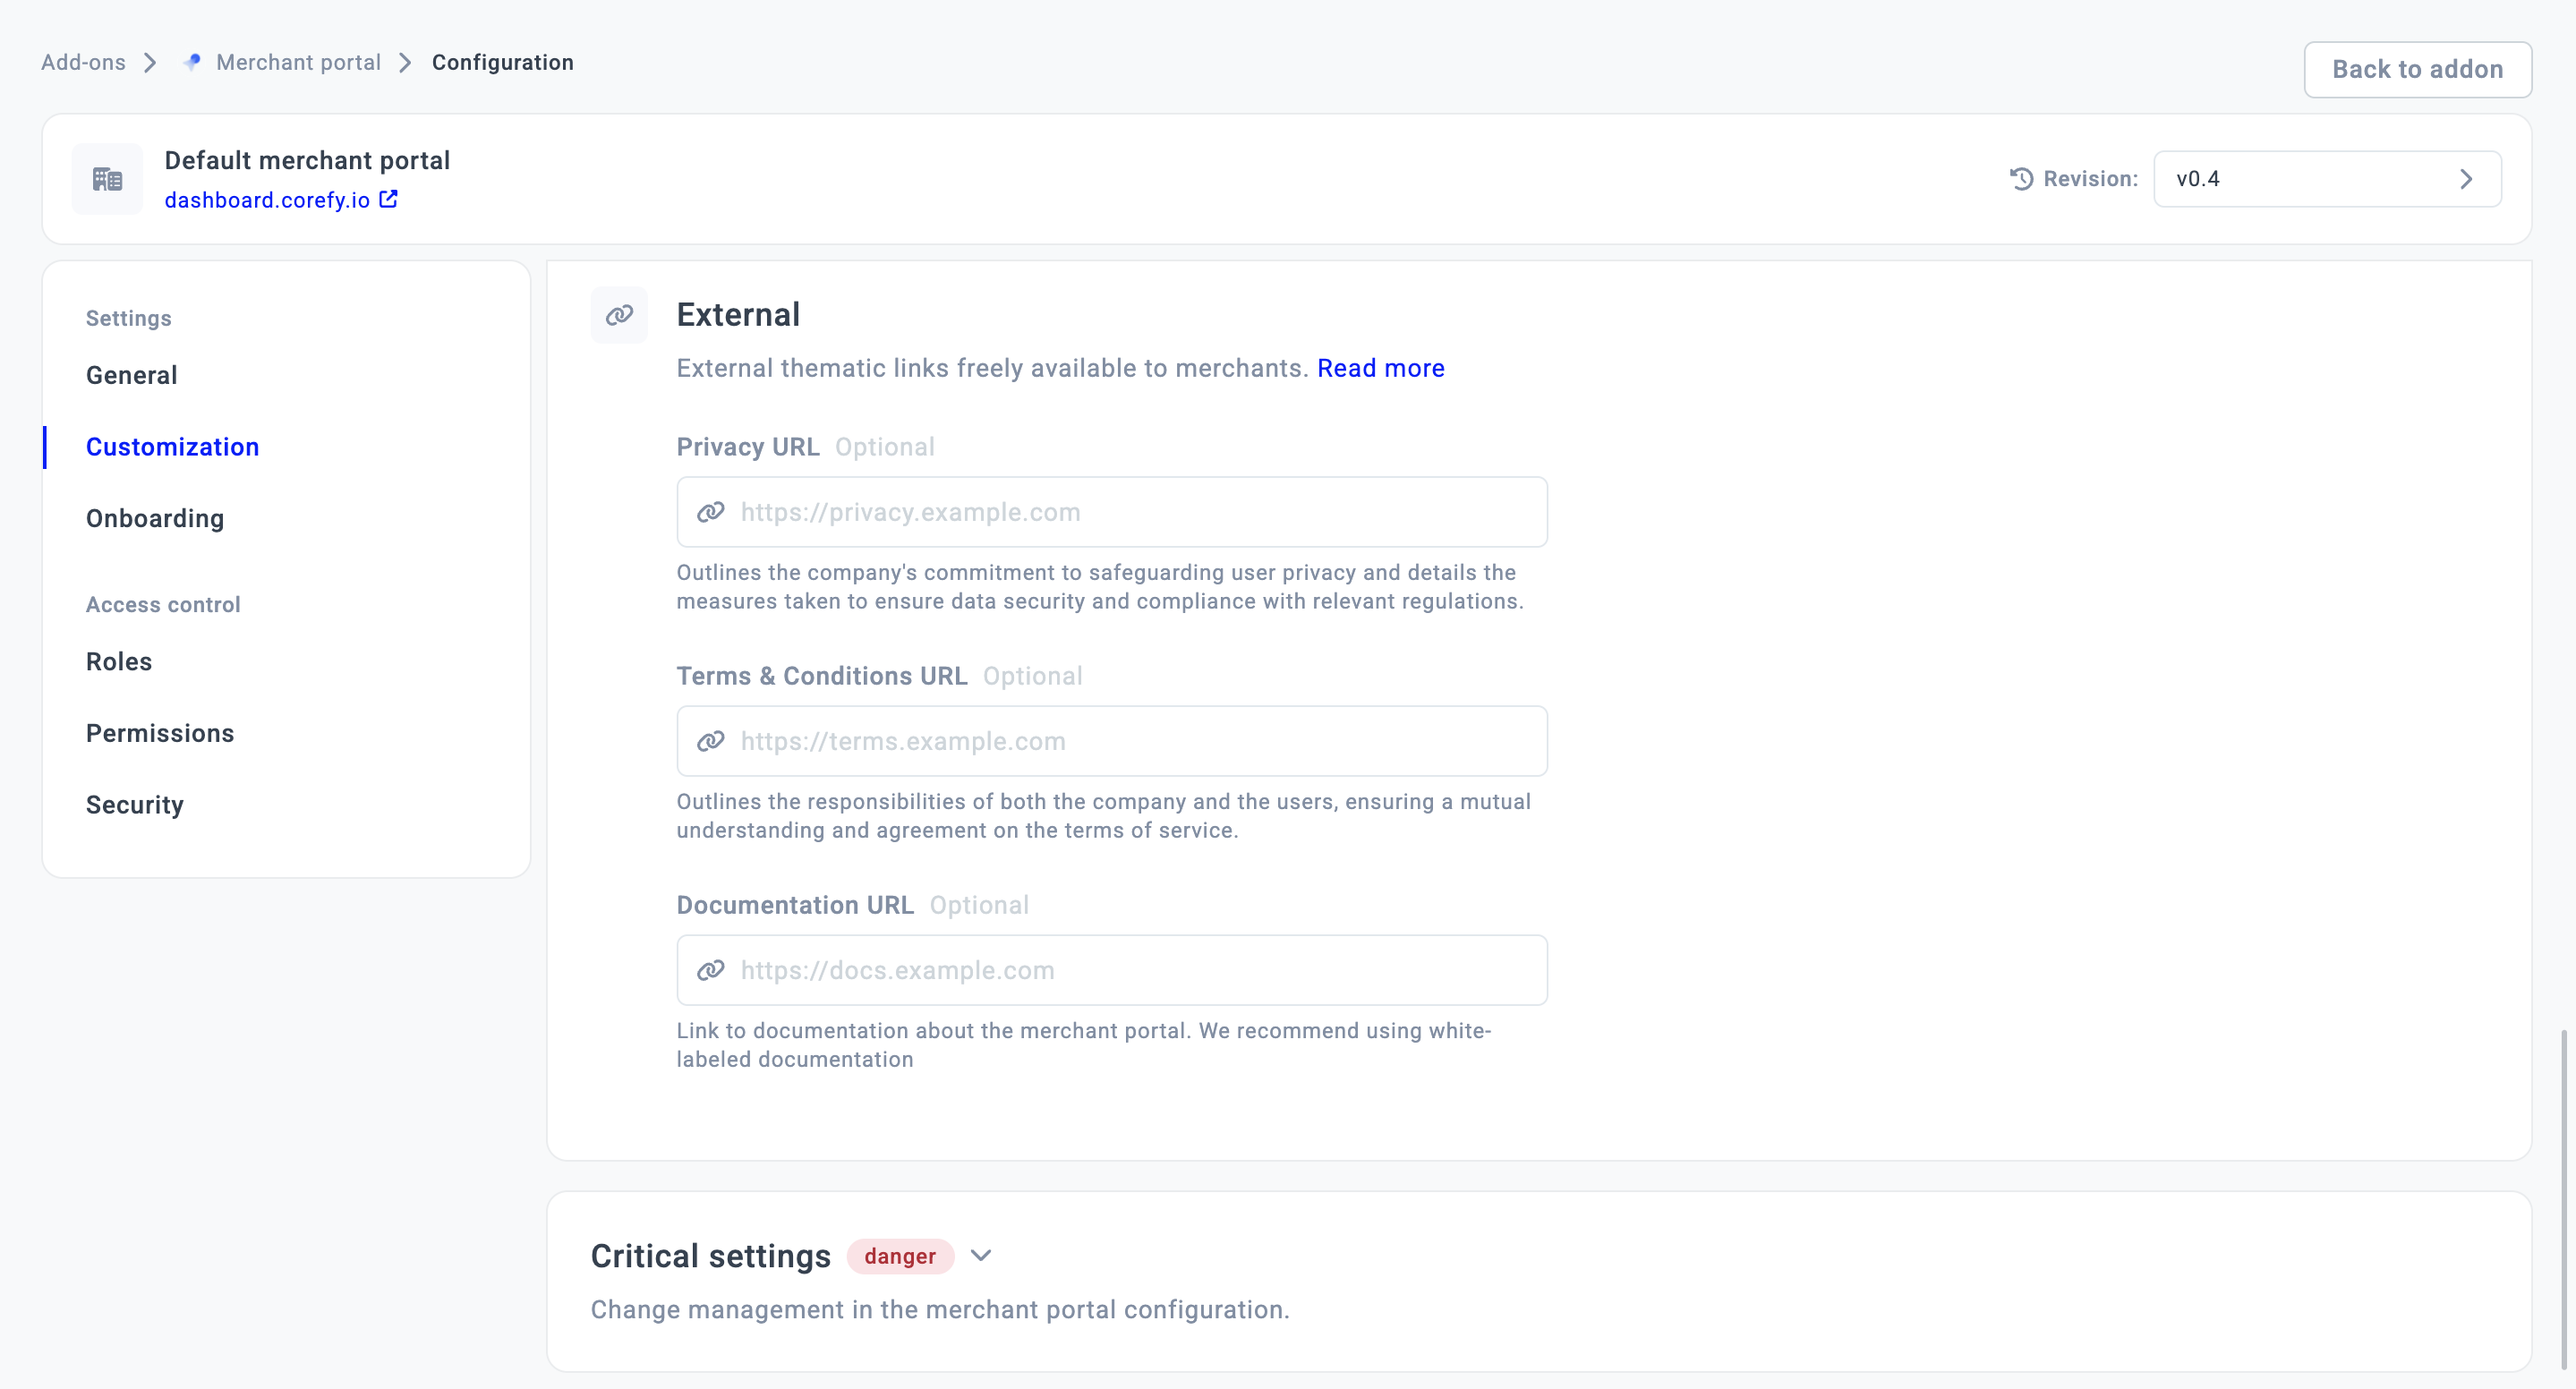
External
The External settings comprise a set of specific URLs that you can provide, which should be available to all your Merchants.
| Option | Description |
| Privacy URL | This URL redirects users to the Privacy Policy, which outlines the security measures for data storage and transfer. It also specifies the alignment of data handling with the appropriate regulations. |
| Terms and Conditions URL | This URL refers to the mutually agreed-upon rules and responsibilities that must be taken into account when delivering the service and consenting to it. |
| Documentation URL | This URL serves as a link to white-label documentation that you can customise according to your branding and target audience. |