

Apply After-payment settings
The After payments settings feature is designed to establish the behaviour after the Customer makes the payment. Apparently, there are certain scenarios of how the system is supposed to react in each possible case. Look at all the options and choose what suits your needs best.
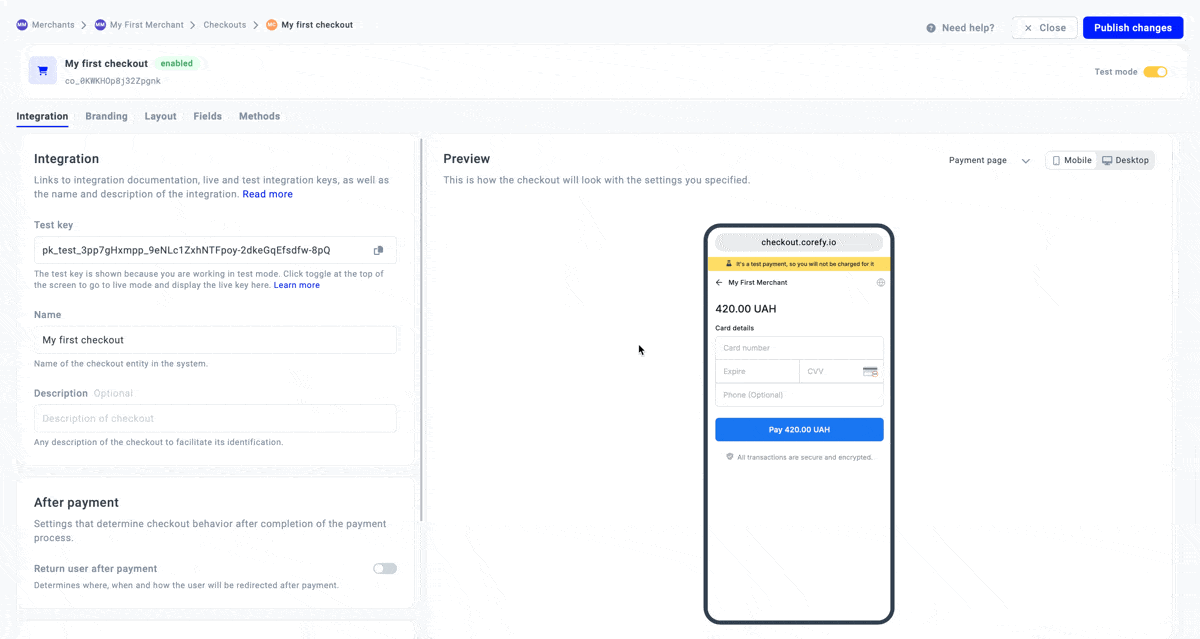
Review After payment settings
- Go to Merchants and choose the Merchant account on the grid.
- Navigate to the Checkouts tab and select the Checkout you want to proceed with.
- Scroll to the After payment section and click Return user after payment.
- Then, apply the Auto return setting of your choice:
| Setting → switched on | Description |
| Bypass status pages | This feature enables you to skip the Checkout status page, and the user should be redirected to the Merchant website right after the payment is made. |
| No Auto return | The system does not automatically redirect the user to the Merchant page. |
| Auto return delay | The system redirects the user to the Merchant website after a time interval that you can establish.
|
- After applying one of the three Auto-return settings, you need to enter the relevant URL links using the HTTP protocol.
- Then, enter the Default URL. That is the field required to determine the way the user should be redirected after the payment.
- You can enter Success, Failed and Pending URLs that are supposed to initiate the redirection depending on the outcome of the payment process. Those fields are optional; if you leave them empty, the redirection should be conducted via the Default URL.
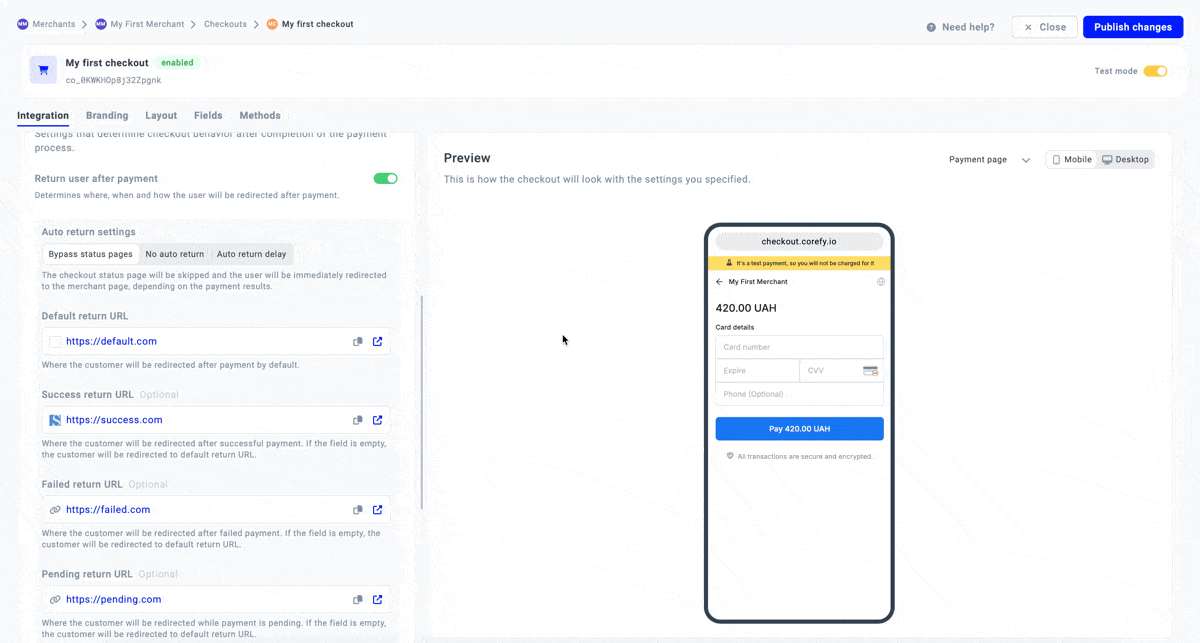
- Additionally, you can shape how the final redirection point should look like:
- Switch on the Return in tab toggle to return the user to the Merchant page from the current page and open it in the tab.
- Switch on the Return in iframe toggle to return the user to the Merchant page if the Checkout is embedded and open it in the iFrame.
- Be aware that if both toggles above are switched off, the system automatically switches off the Return user after payment.