- To Create Organisation, you need to log in to the system after you activate your account and fill in the Organisation info page.
- Enter the Organisation name and Code. Remember that you enter the Organisation code once, and cannot modify it in the system.
- Choose the number of your employees by clicking on the Employee count.
- As an optional step, you can send invites to your Organisation:
- Enter the Email and Role of a new user you want to add to the system. Click Send and go to the next step.
- If you want to invite your teammates later on, click Skip for now.
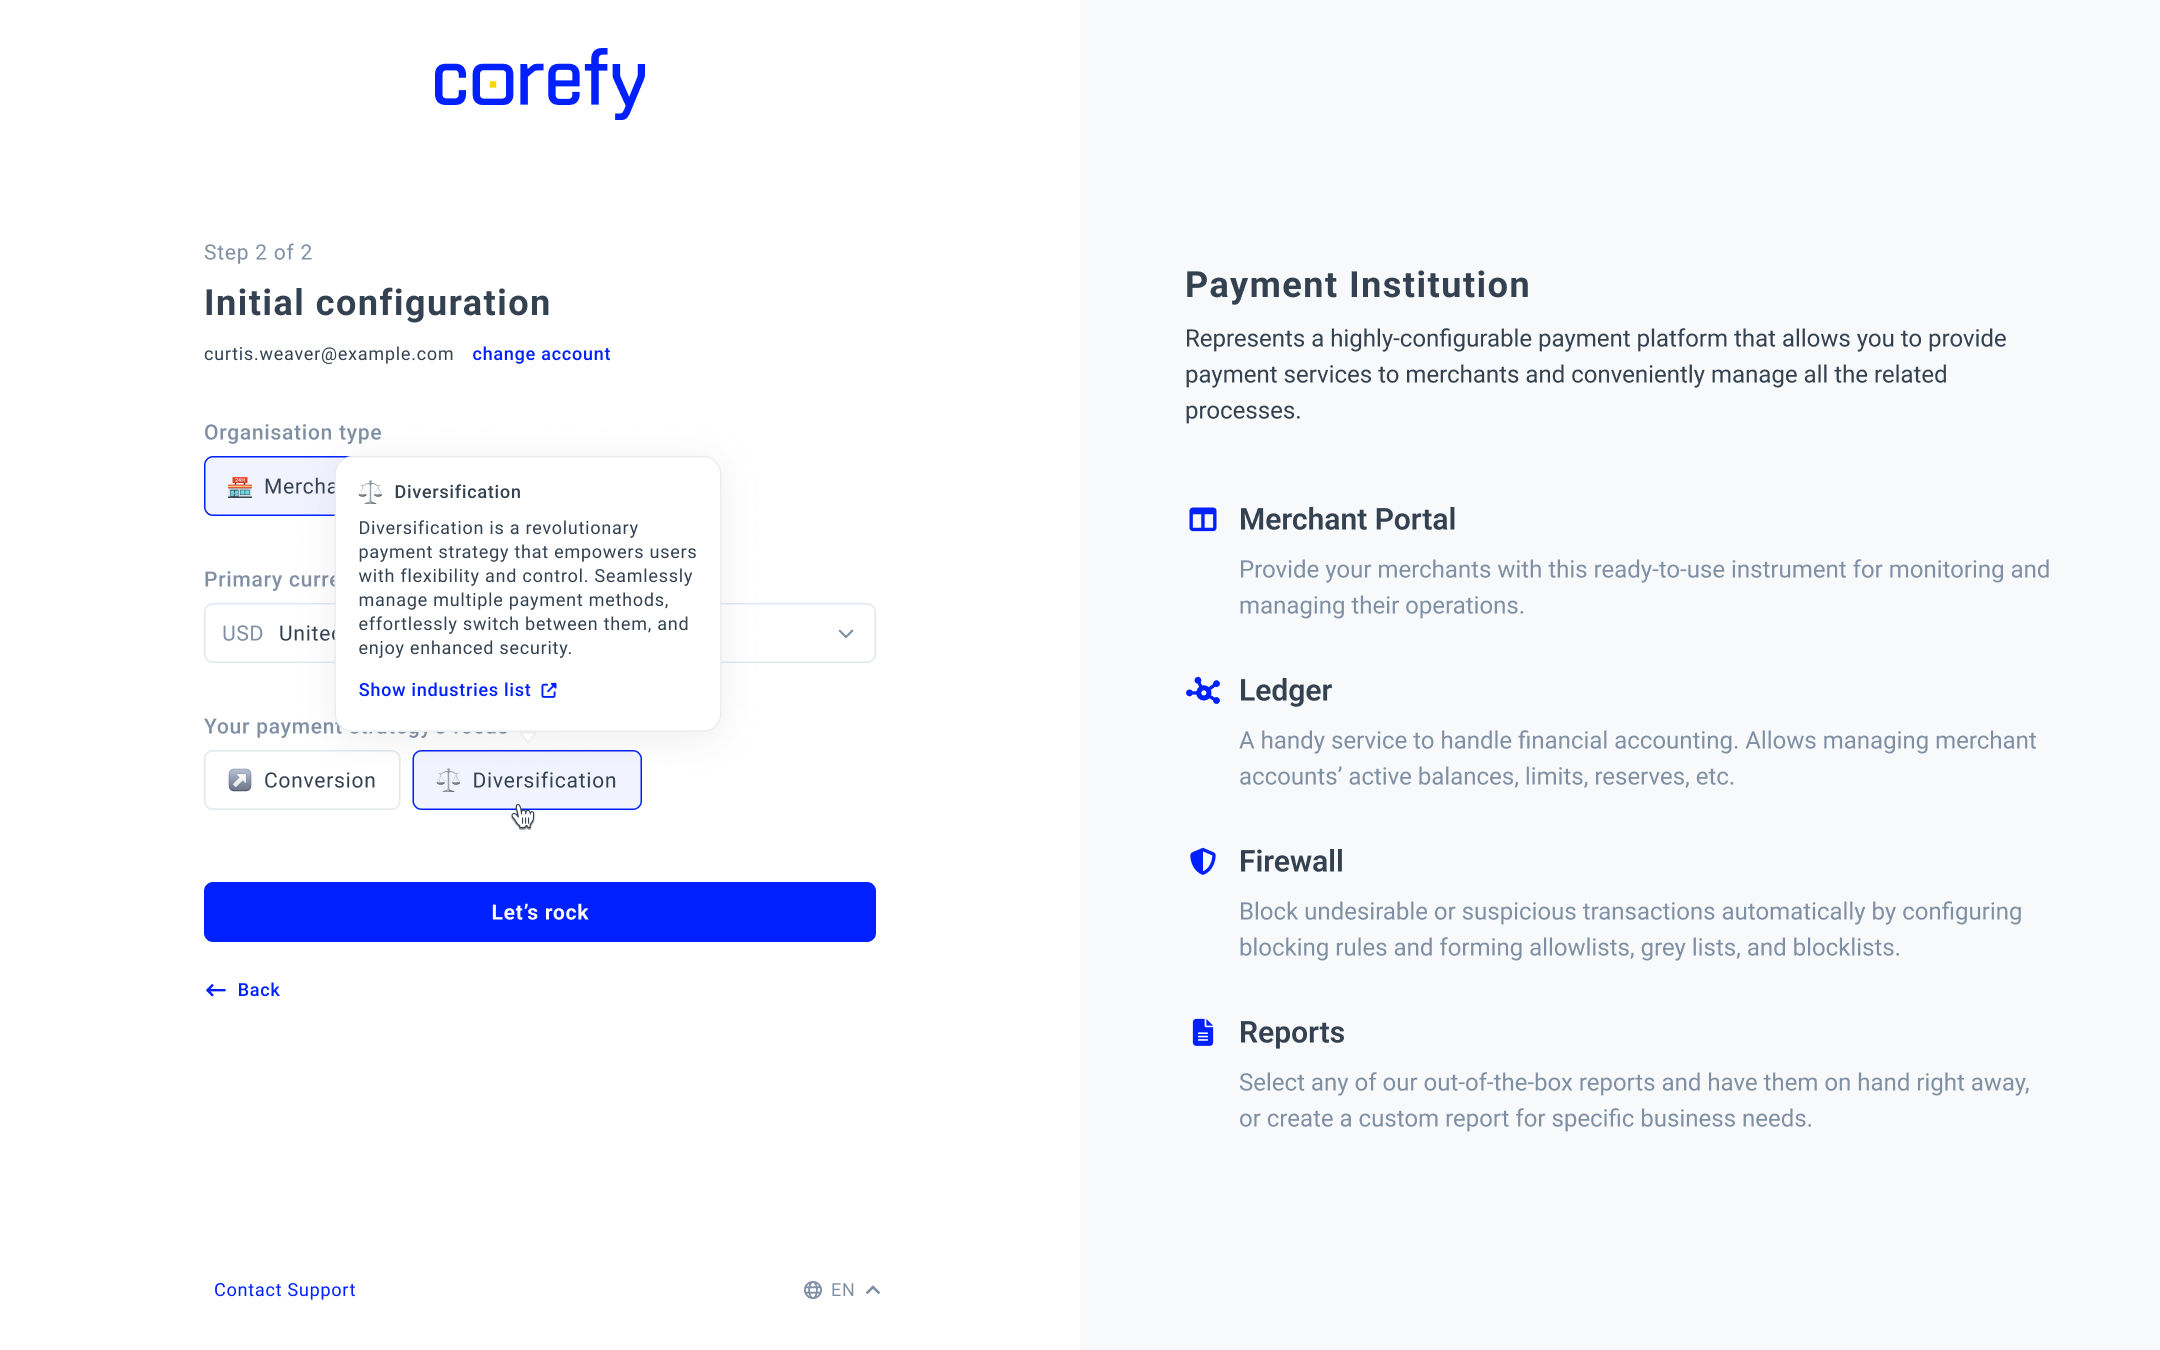
- Then, choose the Organisation type as it defines the functional load you will work with:
| Organisation type |
Description |
|
This allows you to accept payments, make payouts, and manage all transactions.
You can integrate several Payment Providers and Acquirers and track operations in the Dashboard.
|
|
This allows you to provide Payment methods to Merchants. It includes financial accounting,
blocks undesirable or suspicious transactions, and generate reports for specific business needs.
|
- Select the Primary currency from the dropdown list.
📘Primary currency is the designated reference currency of an Organisation used to normalise transaction amounts across different currencies. When a Payment Request or Payment Commit is created in a currency other than the Primary currency, the system converts the amount using the Organisation’s Default FX scheme and provides the equivalent value for use in Routing, Firewall, and other rule-based processing decisions.
- It is also essential to choose your Payment strategy’s focus:
| Payment strategy |
Description |
| Focuses on optimising the conversion rates and enhancing user satisfaction. |
| Focuses on managing and switching between multiple Payment methods, emphasising advanced security. |
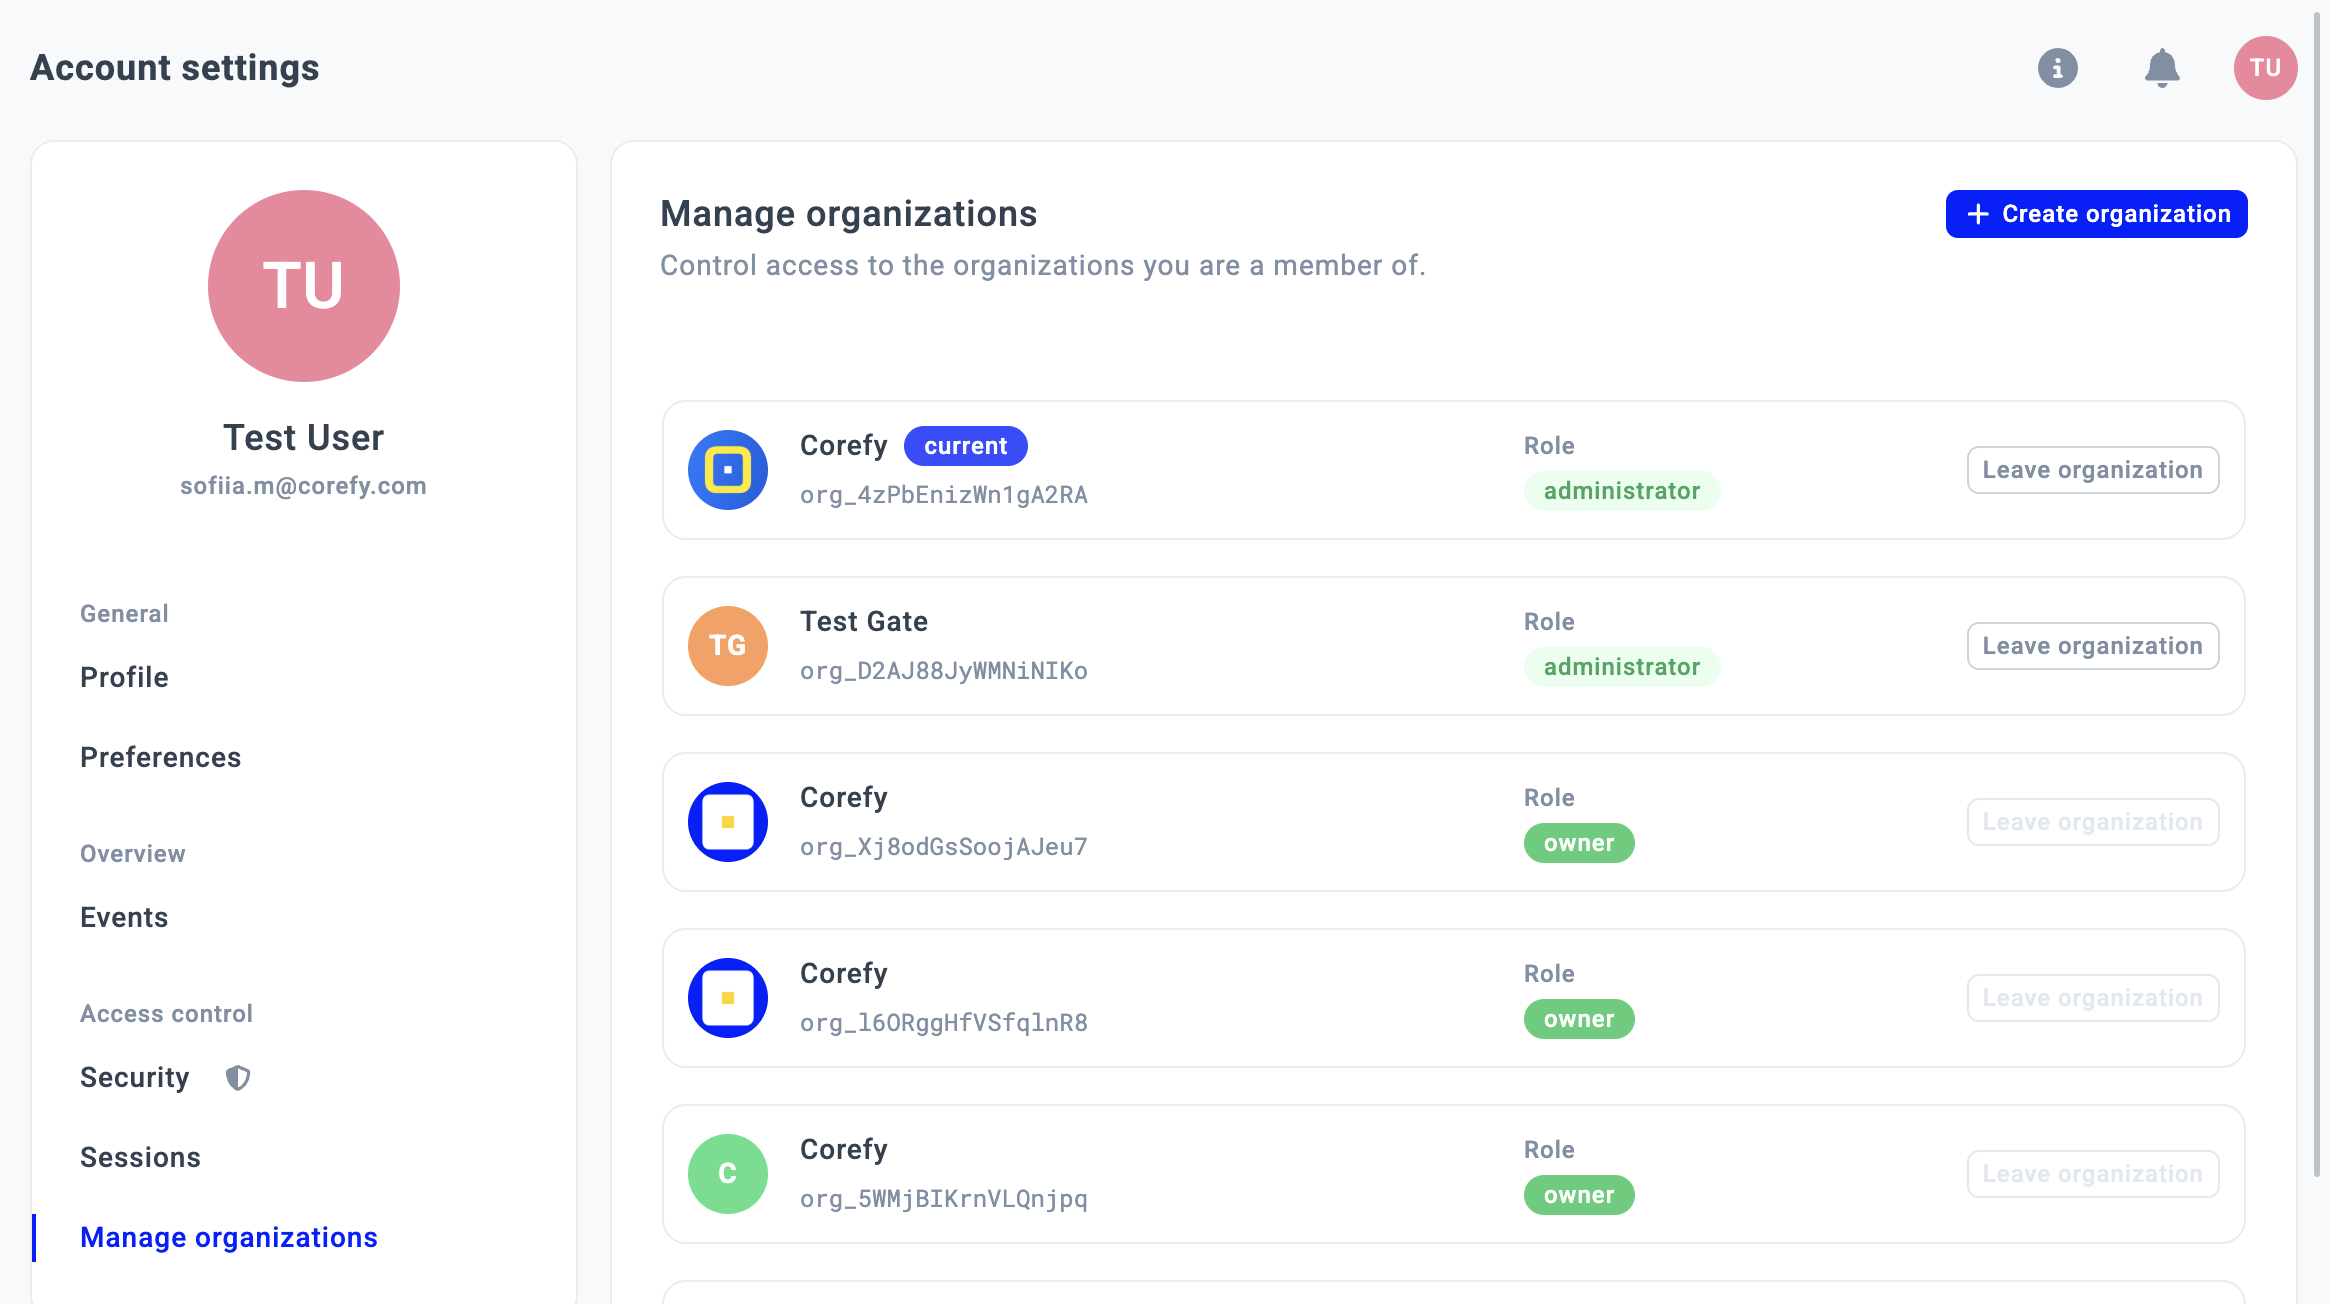
- To create an Organisation, go to the navigation at the top left corner of the page and click the Manage Organisations option. The system redirects you to the respective page.
- Click Create Organisation at the top right corner of the Manage Organisations page.
- Then, you get redirected to a loggia with all the existing Organisations. Click Create new.
- After that, the system walks you through the exact flow with the Organisation info and Initial configuration as described above.