Manage Customer profile
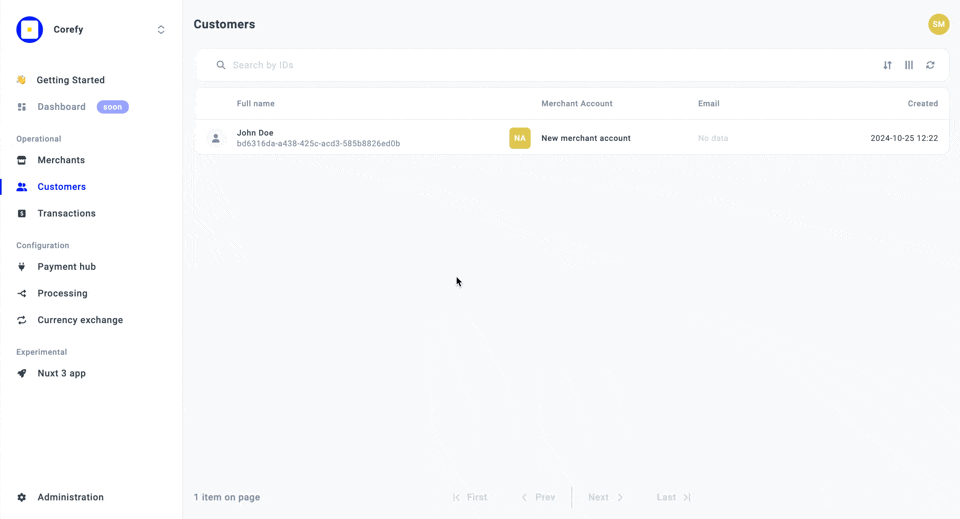
After creating Customers in our system, their profiles become reflected in the Customers tab. Thus, you can decide what data to manage and track this flow accordingly.
Review and update Customer fields
- Go to the Customers tab, select and click the specific Customer on the grid.
- The system should redirect you to the Profile of the given Customer.
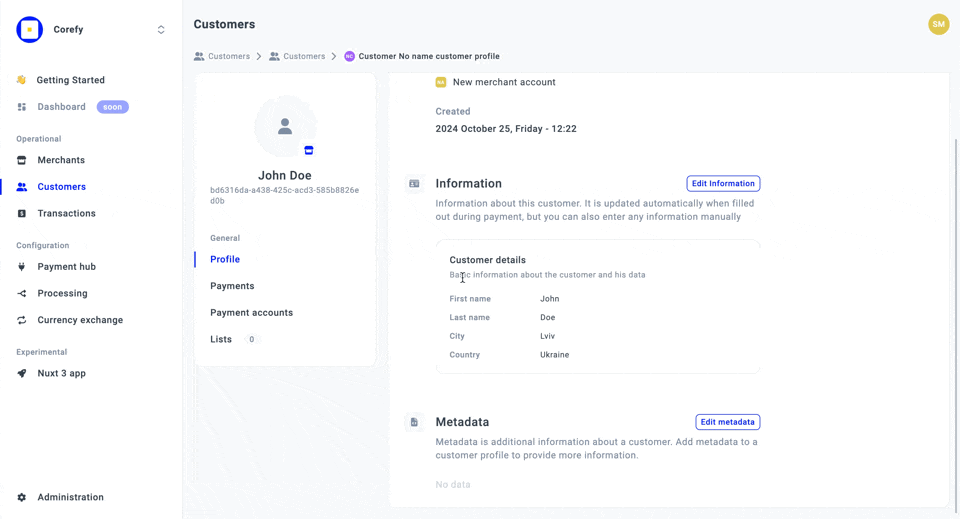
- In the Profile settings, you can review the About Customer section, including the Reference ID, Merchant account connected to this Customer and the Date when the Customer was added to the system.
- Scroll to the Information section, which contains data about the Customer, Billing, and Shipping details. To update the context fields, click Edit information.
- You can edit the existing fields by typing the new data or add new fields if needed. Also, if any field no longer serves your needs, you can easily delete it. To learn more about the fields specifications, go to the Create a Customer for Payment guide.
- When you click Add field, the system shows you a modal where you can add a particular field, or add multiple fields. The total number of new fields should not exceed 5 per one update. If you need to add more fields, just repeat the flow. Keep in mind that the maximum number of added fields is 10.
- After adding new fields, start typing the new data and click Save changes.
Manage Customer metadata
- Go to the Customer profile settings and scroll to the Metadata section.
- You can edit or add Metadata based on your Customer. The flow is practically the same as in the case of editing fields.
- Click Edit Metadata, and the fields should become modifiable. If you have not added any metadata previously, click Add Metadata.
- The system should initiate opening a modal where you can enter the Key and its Value. You can add multiple Keys, but their number should be less than or equal to 5 for one update. If you need to add more fields, just repeat the flow. Beware that the maximum number of added fields equals 10.
- Then, after making the needed updates, click Save changes.