- Go to Merchants and choose the Merchant account you previously created on the grid.
- If you have not created the account yet, go to the Add Merchant account guide to learn the details.
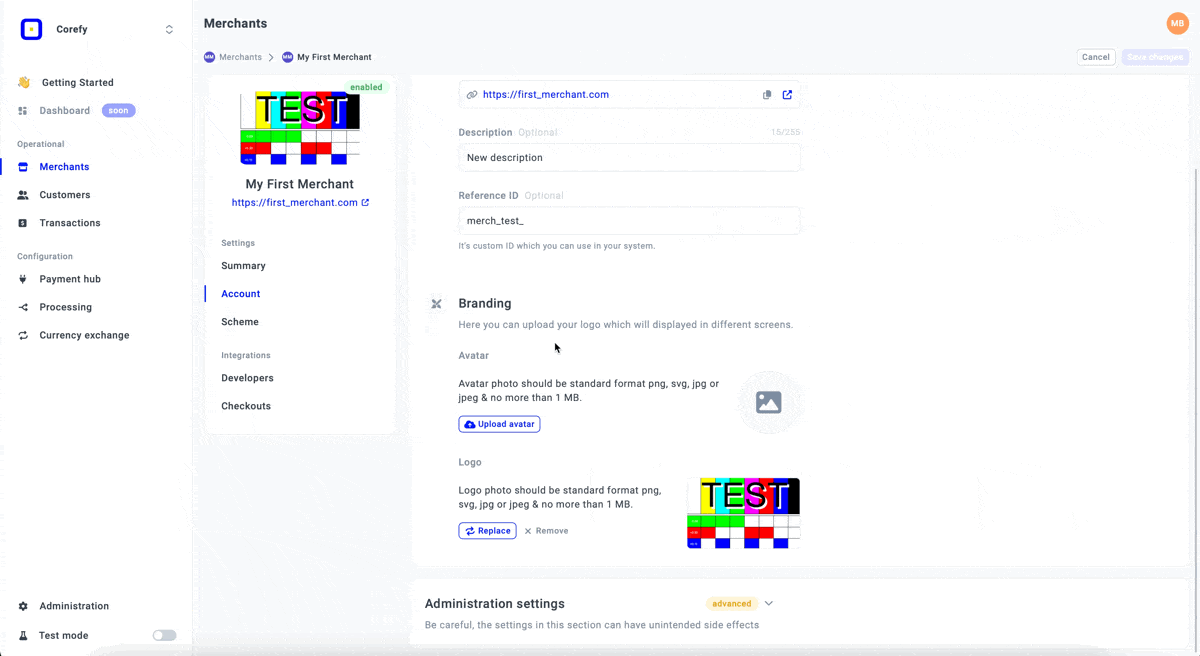
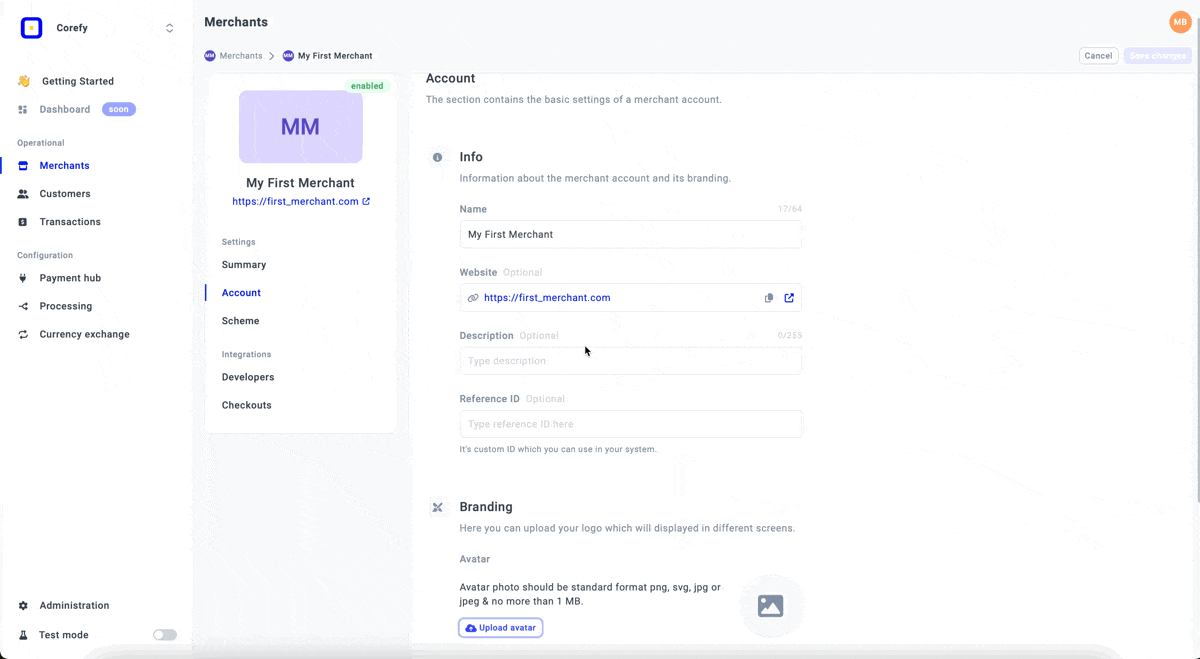
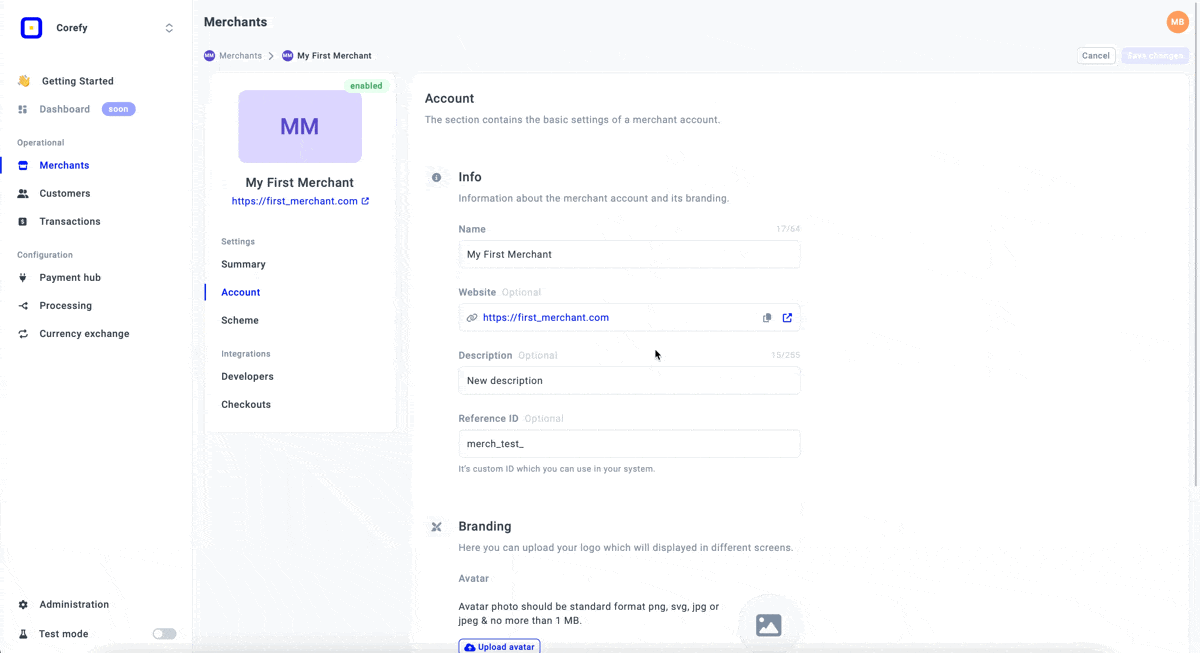
- Go to the Account tab of the specific Merchant account.
- You can update the Name, Description, Website and Reference ID. To begin editing, click the corresponding text fields and type the new data.
The Merchant Portal feature enables you to add your unique branding to distinguish your identity within our system.
| Merchant |
Payment Service Provider |
| → As a Merchant, you can apply your branding strategy at the Merchant level by adding an Avatar and Logo to your Merchant account. |
→ As a Payment Service Provider, you can apply or update branding for the specific Merchant by adding a Logo or Avatar from the Dashboard. |
- To add branding, go to the Account tab of the given Merchant account and scroll to the Branding section.
- To add an avatar, click Upload Avatar and choose an image in the following format: SVG, PNG, JPG, and no more than 1 MB.
- From the Merchant portal side, the Avatar is visualized in the List of Organisations. Each Organisation can have its distinctive Avatar.
- Then, adjust the image size, crop it to the desired limits, or turn it over if needed.
- To add a logo, click Upload Logo and choose an image. The requirements for the image are the same as those for Avatar.
- To review the technical aspects of the Merchant account, click the specific account on the grid.
- Navigate to the Account tab, namely Administration settings.
- You can review the Developers corner, which includes various IDs, and the account History, which contains basic information about the account creator and the latest update. It also involves the account status.
- Here is a short overview of each status the account can possess:
| Status |
Description |
| The account status should be Enabled to work with it and receive payments or make payouts. It becomes Enabled automatically after the creation. |
| You can Disable the account if you find it unnecessary. However, you can regain the ability to use it fully only after activating it. |
| You can hide an inactive Merchant account so it does not appear in the list of accounts. |
- If you no longer need the Account, click Disable. If necessary, you can Enable it at any time later.
- When the Merchant account is disabled, click Archive to hide it from the grid. This action does not presuppose deleting the account or the transactions attached to it. To switch it back to the Disabled status, click Unarchive.
- After you finish making updates, click Save changes.