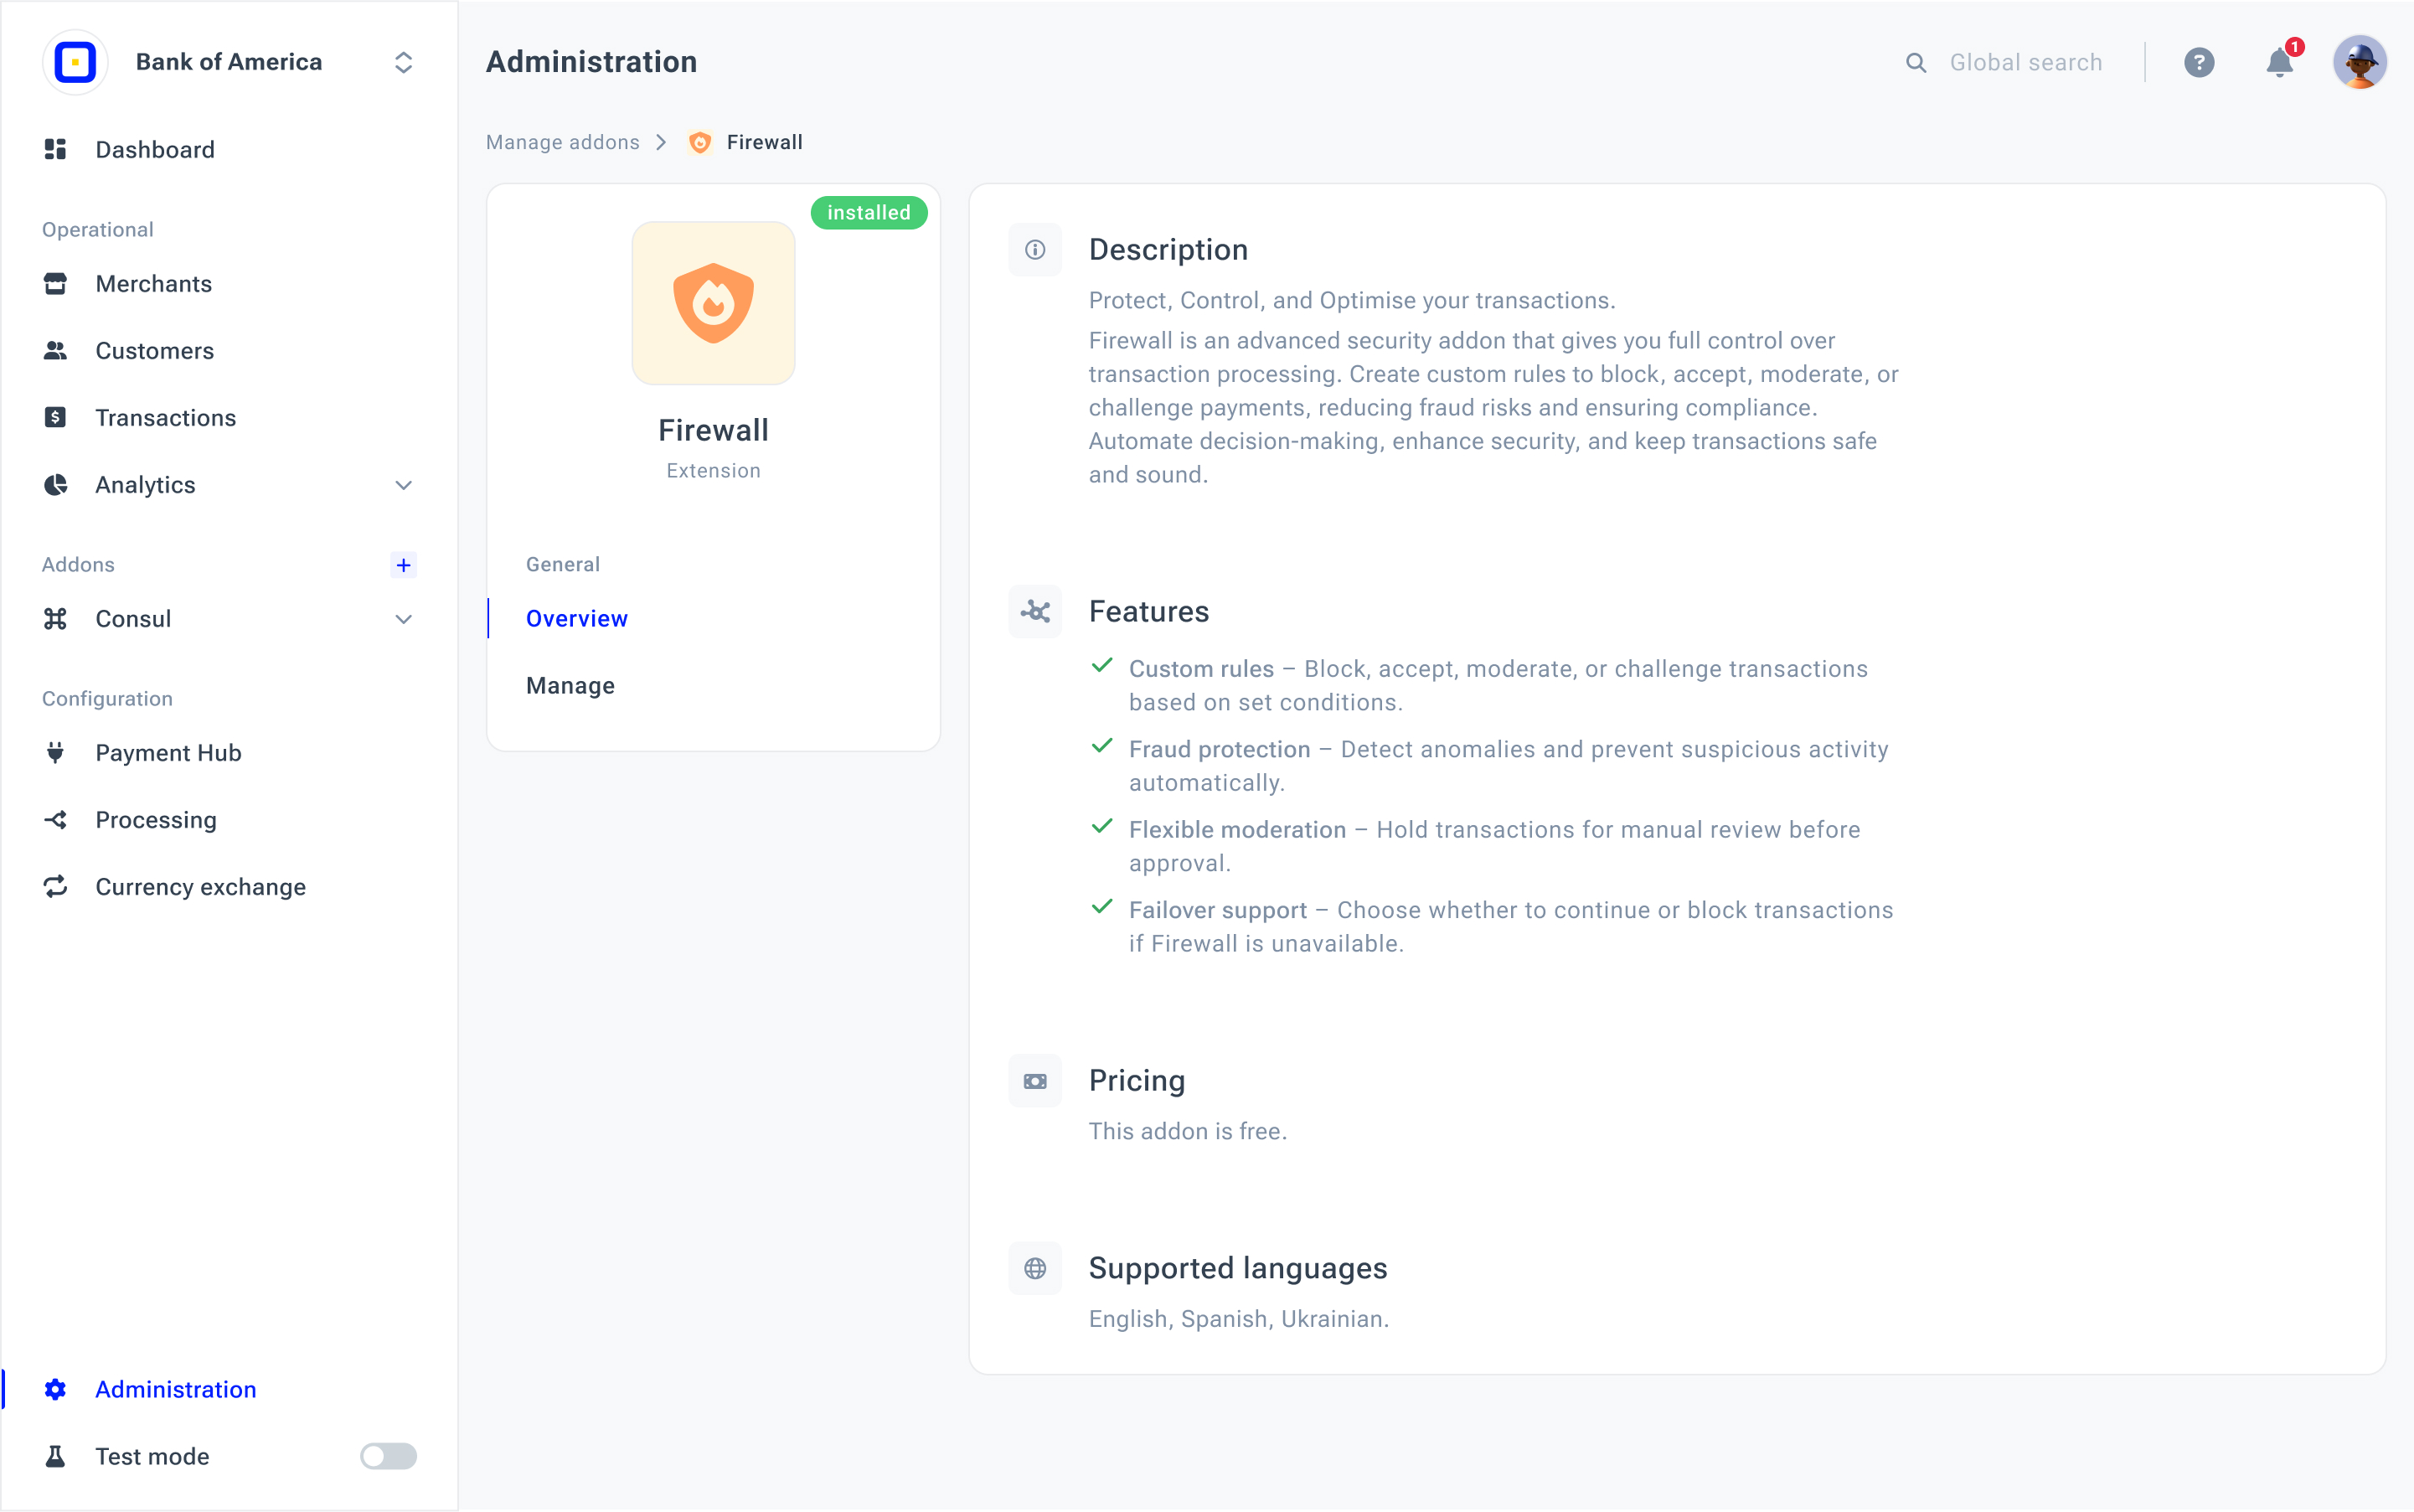
Configure Firewall add-on
Firewall configuration sets the beginning of its usage. Therefore, ensure that you review the instructions to set up this add-on and configure its settings for optimal management and functionality.
Install Firewall
- Navigate to the Add-ons tab in the main sidebar menu.
- Click the plus icon next to Add-ons.
- The system redirects you to the Administration, namely the Manage add-ons tab.
- You can also click Administration, located in the sidebar menu in the bottom left corner of the page, and open the Manage add-ons tab. This way is applicable if you installed any add-ons before.
- Select Firewall from the list of available add-ons and click its entity.
- Then, click Install. After the installation, the system marks the Firewall with the
installedtag.
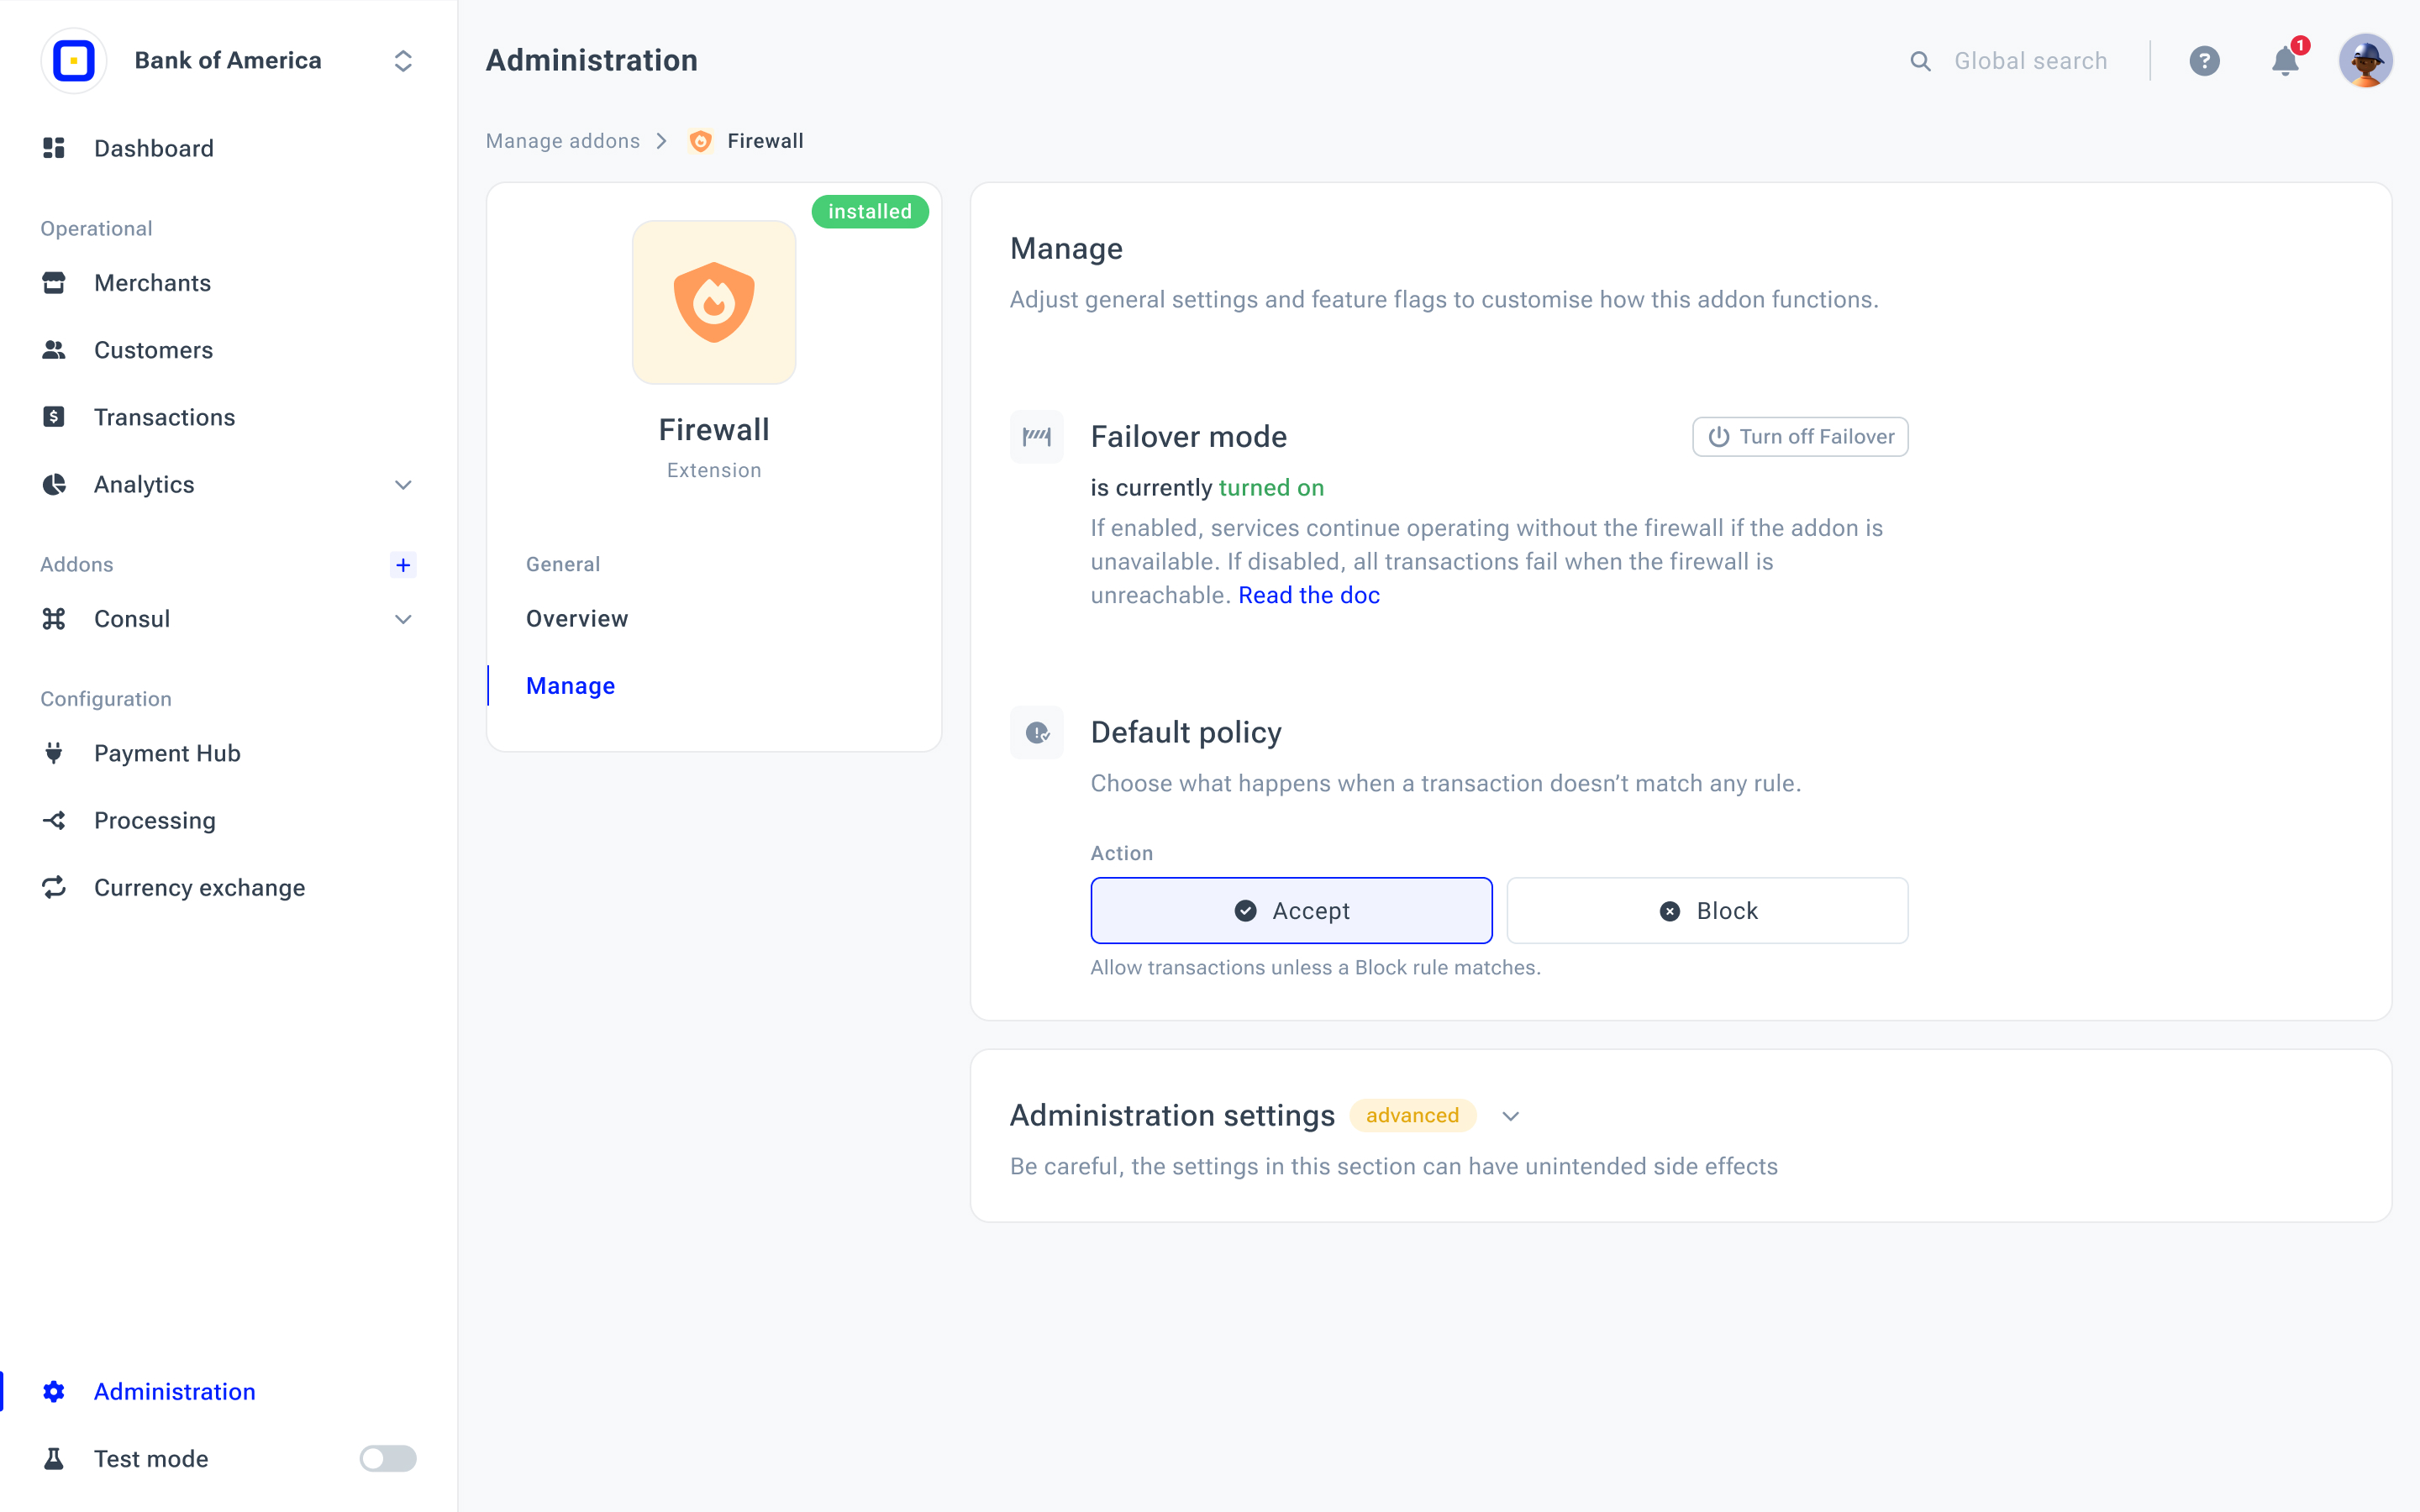
Enable/Disable Failover mode
- Go to the Manage tab under the Firewall overview.
- The Failover mode is switched on by default. You can disable it if needed by switching off the Turn off Failover toggle. Enable it at any time later on.
For your information!Failover mode is an option that allows services to continue operating when the Firewall is unavailable as if it was not installed. In such a case, all the previously applied Rules are inactive.
If you switch off the Failover mode, all the transactions fail while Firewall is not accessible.
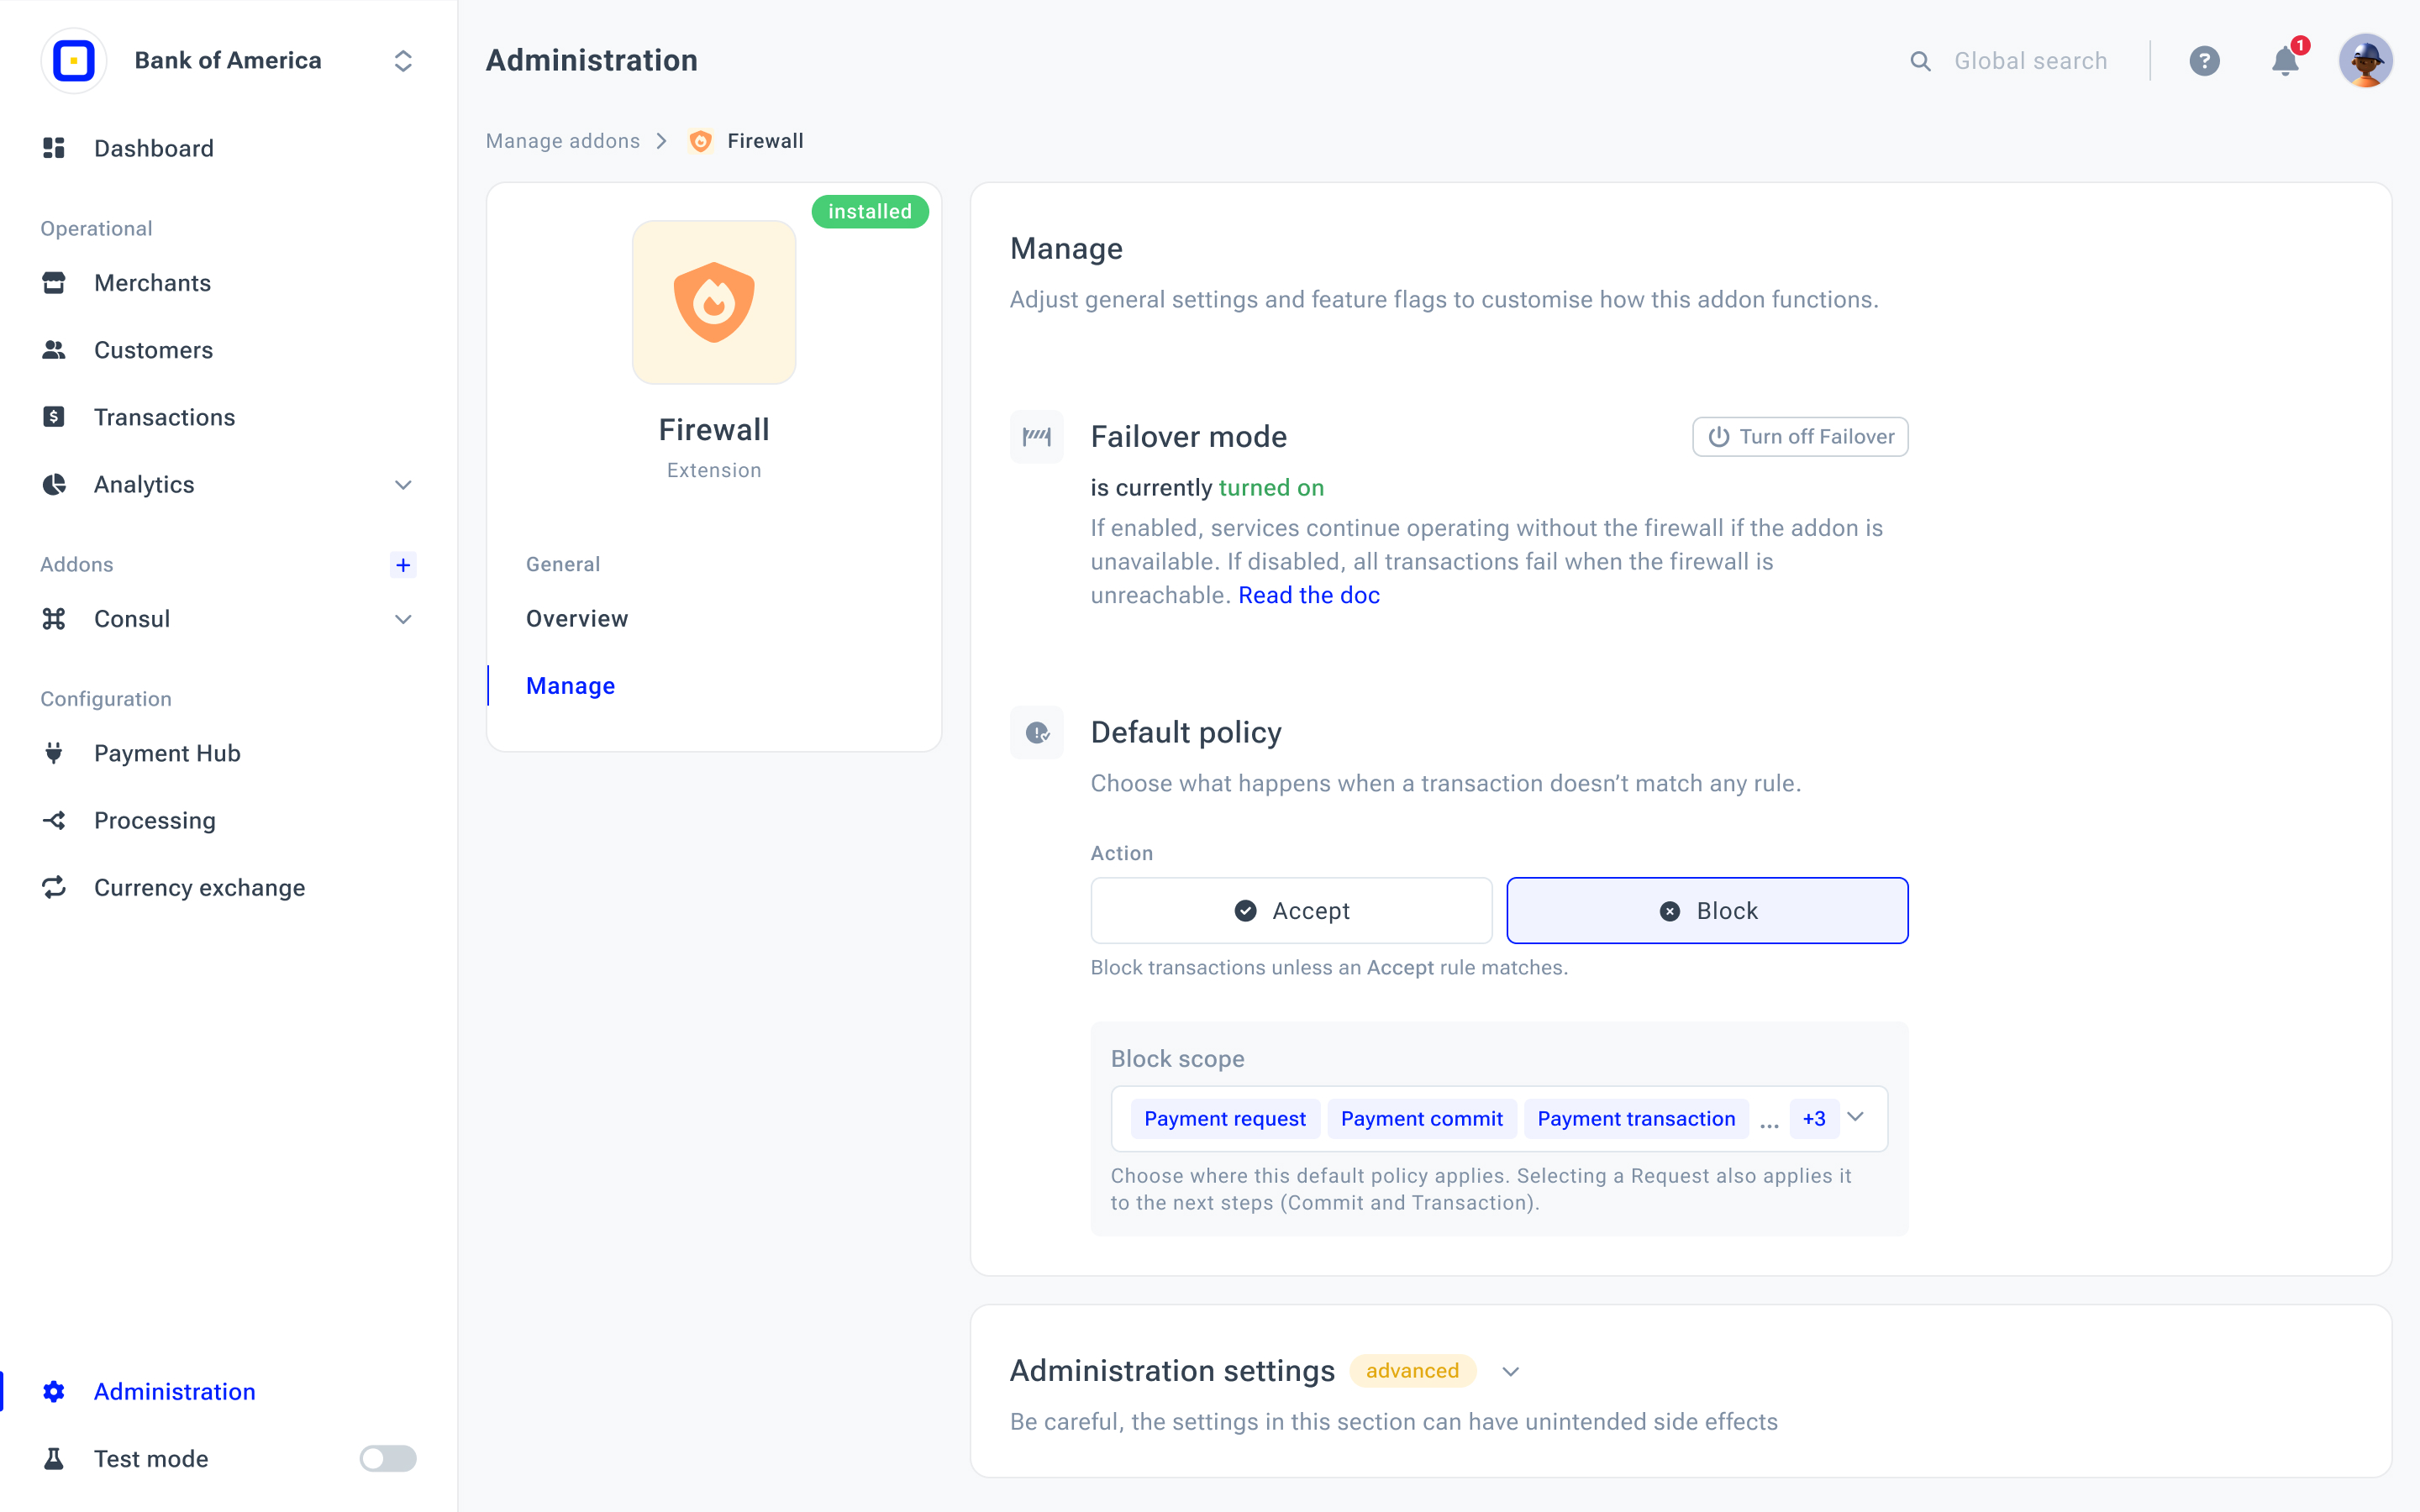
Select the Default policy
The Default Policy defines how the Firewall should behave when a transaction does not match any configured Firewall rules. It determines the final decision for transactions that were not explicitly accepted or blocked during rule evaluation.
- Go to the Manage tab under the Firewall overview.
- Select the Default policy among the following options:
| Default policy | Description | Supported Triggers |
| Accept |
When Accept is selected, transactions are allowed to proceed unless a rule with the Block action matches.
The principle: Allow transactions unless a Block rule matches. This policy follows an allow-by-default approach and is suitable when Firewall rules are primarily used to restrict specific transactions, such as those originating from specific countries, suspicious cards, or high-risk patterns. |
The Accept option does not presuppose selecting Triggers. |
| Block |
When Block is selected, transactions are blocked unless a rule with the Accept action explicitly allows them.
The principle: Block transactions unless an Accept rule matches. This policy follows a deny-by-default approach and is typically used in stricter security environments where only explicitly permitted transactions should be processed. If Block is selected and no Accept rules exist, all transactions are blocked. If there are no Accept rules, all transactions are blocked. |
Payment triggers:
|
- When switching the Default policy to Block, the system automatically enables all available Triggers used by the Firewall to determine when Rules should be applied. Thus, you can deselect any Triggers if needed.
Manage Firewall add-on
- Point to the add-on Administration settings.
- You can review the Developer corner, which includes technical information with various IDs.
- To deactivate the Firewall if it is no longer needed, click Disable extension.
- After disabling, you can enable the Firewall again with all entities preserved.