

Create Webhook
Webhooks are the elements that allow one application to communicate with another by sending data or notifications. The process when such communication occurs is triggered by particular Events. As a result, Webhooks push data automatically to a configured URL and do not presuppose ongoing interaction in the form of additional confirmations or requests. In other words, they send data in response to an Event without needing a prior manual request.
Create Webhook via Dashboard
- Go to the Merchants tab and click the Merchant account on the grid.
- If you have not created the Merchant account, go to the Add Merchant account guide to learn the details.
- Then, navigate to the Developers tab of the specific Merchant account and choose the Webhooks tab at the top.
- Click Add Webhook.
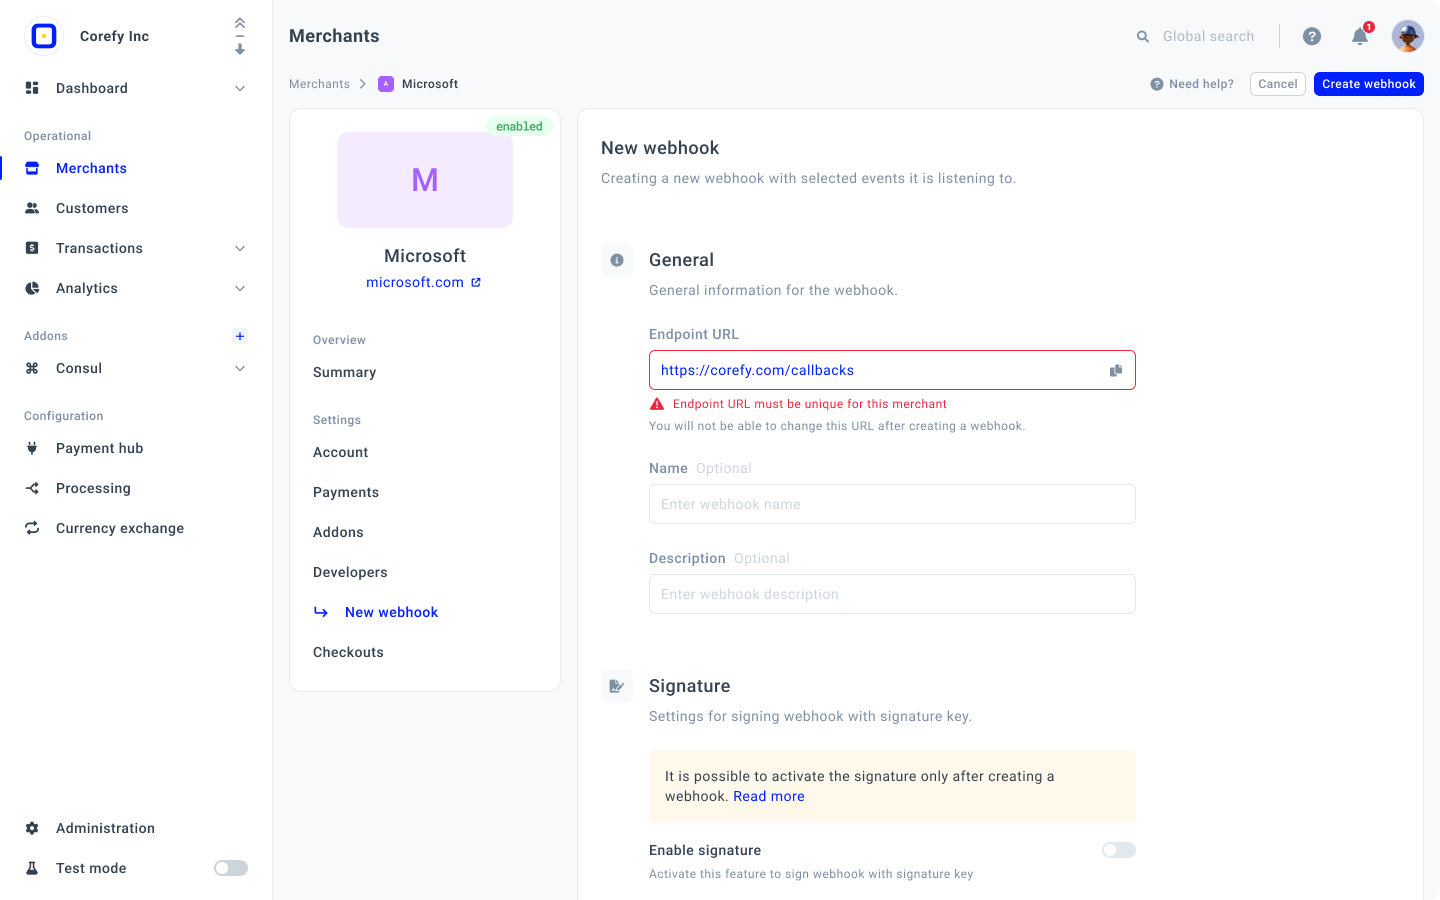
- Fill in the General information block, namely the webhook Name and Description. Enter the Endpoint URL.
Be aware!You can enter the needed URL only once without the possibility of modifying it later.
- Scroll down to the Events block. Events are literally the actions that the user can carry out, and according to them, the system should react by sending a corresponding Webhook.
- Select the Events from the box. To be able to create a Webhook, you need to select at least one Event. To learn more about the Events, go to the Manage Events guide.
- Click Create Webhook.
- After the Webhook creation, you can set a specific Signature for the given Webhook as an additional security measure. To learn more details, go to the Enable Signature for a Webhook guide.